Send Odoo Leads to Slack Instantly 💬
Adam Browder
September 16, 2025
Your sales team just wrapped a busy morning of calls, and a new lead gets entered into Odoo. With this automation, you can Send Odoo Leads to Slack instantly so your team sees the update right where they already work. No one needs to check Odoo manually, and action happens right away.
This automation uses Workload to capture new leads and opportunities in Odoo the moment they’re created. It passes along details like the lead’s name, company, email address, phone number, and even expected revenue. All that information is formatted cleanly so your team can view and act on it without logging into Odoo.
The result is speed, accuracy, and zero manual effort. Every new opportunity reaches your team instantly, helping them follow up faster and stay aligned. Automating this step keeps communication seamless and ensures your CRM and team chat stay perfectly in sync.
🔌 Essentials
🐘 Odoo account
Track and manage new leads or opportunities.
💬 Slack account
Send real-time channel notifications to your team.
🤖 Workload account
Build, run, and manage your automation—no code needed.
💡 Why Automate
⏱️ Instant Lead Alerts
See new Odoo leads in Slack the moment they’re created.
📢 Team-Wide Visibility
Keep everyone aligned with shared updates in one channel.
💰 Faster Revenue Response
Spot high-value opportunities and act immediately.
⚙️ How to Send Odoo Leads to Slack Instantly
Apps expect data in different formats—like dates, names, or labels. Workload’s built-in AI Wizard lets you clean or adjust data between steps. If your trigger already sends clean data, you can skip formatting altogether.
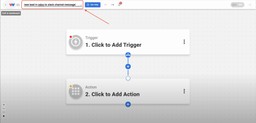
Step 1: Create a New Automation (Workload)
Start in the Workload dashboard and click Create Workflow.

Give your workflow a title, for example: New Lead in Odoo to Slack Channel Message.

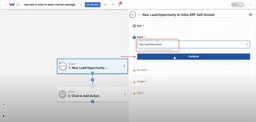
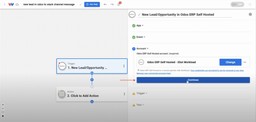
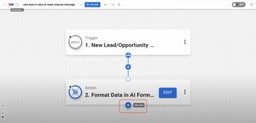
Step 2: Add the Trigger (Odoo ERP Self Hosted)
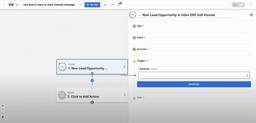
Click inside the Trigger box and choose the app Odoo ERP Self Hosted.

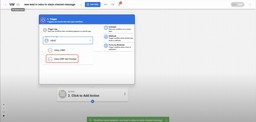
Select New Lead/Opportunity as the event and click Continue.

Sign in to your Odoo account if you haven’t already. For help, follow our step-by-step guide on how to connect Odoo to Workload. Once connected, click Continue

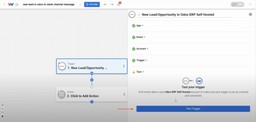
Choose your database from the dropdown and click Continue.
Click Test Trigger to pull in a sample lead with details like name, email, phone number, and company.
Once you have a successful response, click Continue.

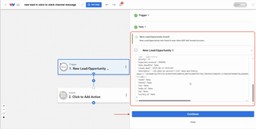
Note: The trigger response includes all the lead details we need, but some fields (like company and contact names) aren’t usable yet. In the next step, we’ll use Workload’s AI Wizard to format this data.
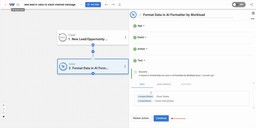
Step 3: Format Names (AI Wizard by Workload)
Click into the action step. Open the Tools menu and choose the app AI Formatter by Workload.
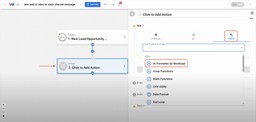
Select Format Data as the event and click Continue.
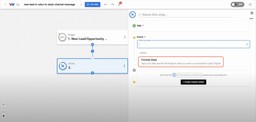
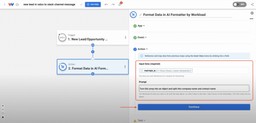
In Input Data, select the partner_id field from the trigger. Now in the prompt box, type: Turn this array into an object and split into company name and contact name. Then, click Continue.

Click Test Action to confirm the company name and contact name are separated.
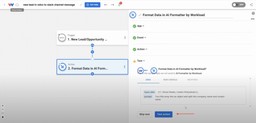
Once you get a successful response, click Continue.

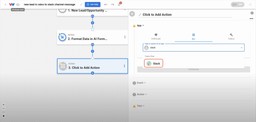
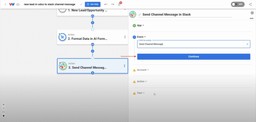
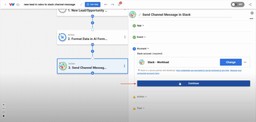
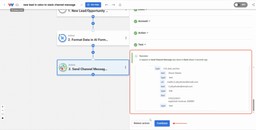
Step 4: Post a Channel Message (Slack)
Click + Add Step below the Format Data step.
Choose the app Slack.
Now choose the Send Channel Message event, then click Continue.
Sign in to your Slack account if you haven’t already. For help, follow our step-by-step guide on how to connect Slack to Workload. Once connected, click Continue.
Now, map your fields:
- Message Text → Company name (Step 3) + Email (Step 2) + Phone (Step 2) + Expected revenue (Step 2, optional)
- Channel → Slack channel where notifications should post (e.g.,
#sales-leads) - Bot Name → Contact name from Step 3 – AI Formatter
There are additional fields that you can fill out to customized your message but you are not required to use them. Required fields for the message are clearly marked.

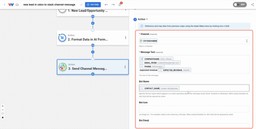
Once you have finished mapping your message, click Continue.
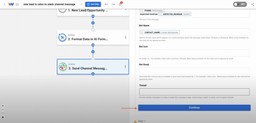
Click Test Action.

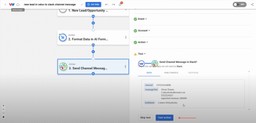
Once you get a successful response, click Continue.

Step 5: Verify and Activate (Workload)
Open Slack and confirm the test message includes company, contact, email, phone, and revenue details.

Return to Workload and confirm each step shows a green status dot. Finally, switch the automation On to activate.


🎨 Make It Yours
Want more flexibility or to add your own personal style? Try these customization ideas:
🎯 Add Filters
Only send Slack messages for high-value leads or specific Odoo stages.
💬 Customize Message Text
Label each detail (Company, Email, Phone) so your Slack alerts are easier to scan.
🔀 Handle Missing Data
Skip Slack notifications when leads don’t include an email or phone, and alert the owner instead.
⚡ Extend “Send Odoo Leads to Slack” into a Lead Response System
🗓️ Auto-Create Follow-Ups
Create a Google Tasks or Todoist task per lead with due date, owner, and a link to the Odoo record and Slack message.
📊 Log Every Alert for Reporting
Append each lead to a Google Sheet (timestamp, company, contact, expected revenue, owner) so you can track volume, SLAs, and conversions.
🚨 Escalate What Matters
If priority or expected revenue exceeds your threshold, route to a #hot-leads channel and @mention the owner; start a Slack thread for updates.
🔀 Branch for Gaps
If email or phone is missing, skip Slack and send a DM to the lead owner or create an Odoo activity to request missing details.
🧠 Learn More
🎓 Watch more tutorials on Workload University
🆘 Browse the Workload Help Center
🔄 Tutorials for featured apps: Odoo guides • Slack guides
🌐 Explore related topics: CRM & Contacts • Email & Communication
🎥 Video Walkthrough
Tags
Ready to automate your workflows?
Start building powerful automations with Workload today.
Get Started Free