If your business runs on meetings, you know how important it is to keep invitee information organized. Instead of manually logging every new booking, this no-code automation sends Calendly invitees to Airtable the moment a meeting is scheduled—no extra steps required.
Each record in Airtable includes key details like the invitee’s name, email, phone number, and scheduled time. It’s an ideal setup for teams handling client onboarding, sales calls, interviews, or service appointments—any workflow that starts with a calendar invite.
Connecting Calendly to Airtable with Workload helps you skip the manual data entry, avoid mistakes, and keep everything organized as soon as a meeting is booked.
💡Why Add Calendly Invitees to Airtable? #
- Keep all meeting details in one place
- Stop entering invitee data by hand
- Speed up lead intake and scheduling
- Make sure no invitee gets missed
- Great for teams using Calendly and Airtable together
This automation is perfect for businesses that use Calendly to book calls, interviews, or demos—and need that data to flow into Airtable for tracking, follow-up, or reporting.
🔌 Essentials #
Before you begin, you’ll need a few things:
- A Calendly account to manage your meeting bookings
- An Airtable account to store and organize invitee details
- A Workload account (free or paid) to build your automation
Workload makes it easy to connect everything. Just sign in, link your accounts, and you’re ready to build—no code needed.
⚙️ How to Send Calendly Invitees to Airtable #
Here’s how to create your Calendly-to-Airtable automation in Workload:
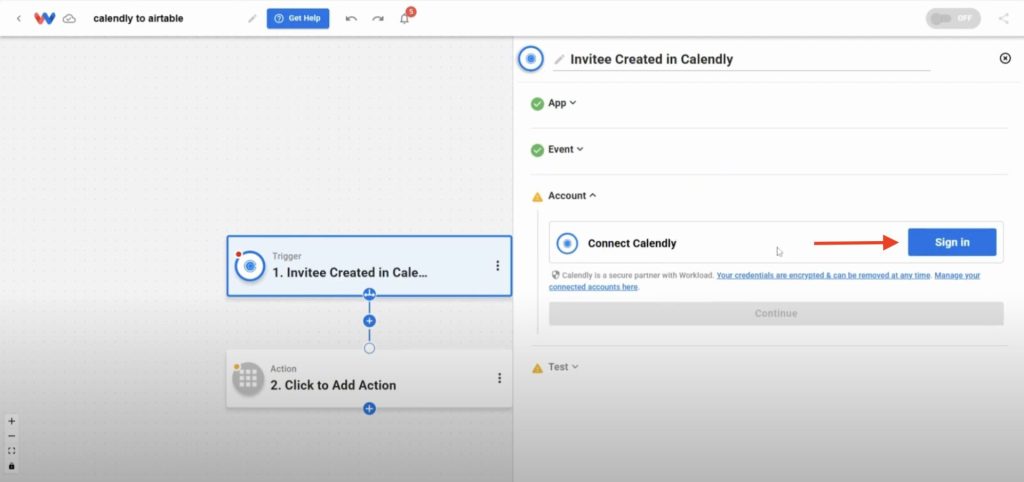
1. Set Calendly as the Trigger #
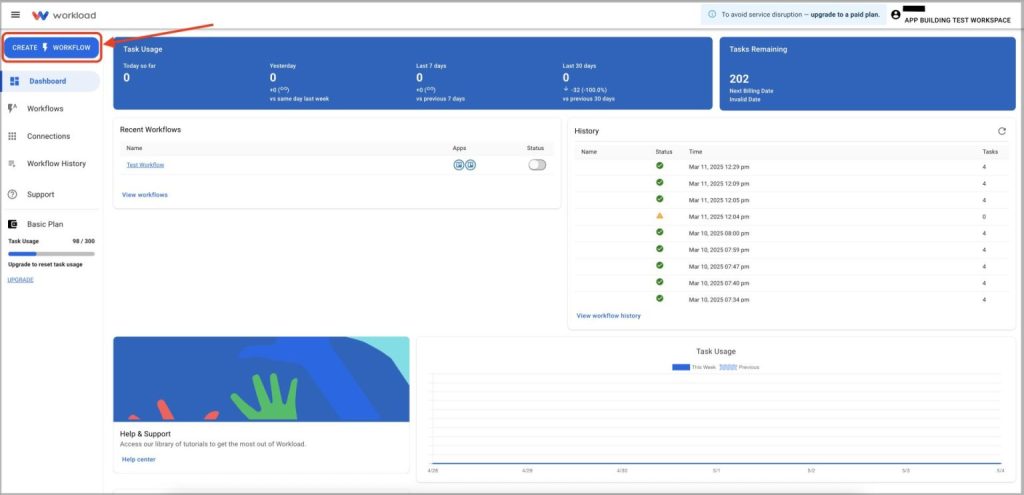
- Open your Workload dashboard and click Create Workflow
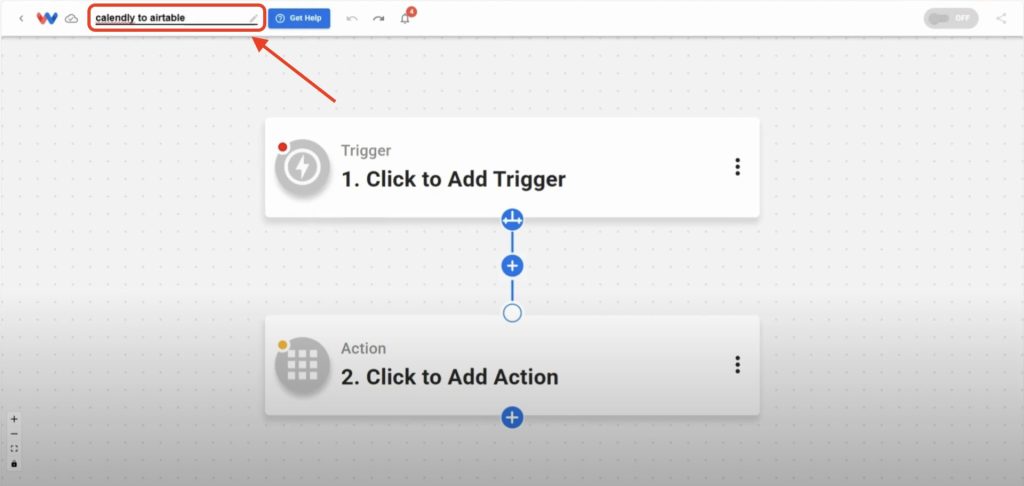
- Name your workflow (ex: “Calendly to Airtable”)
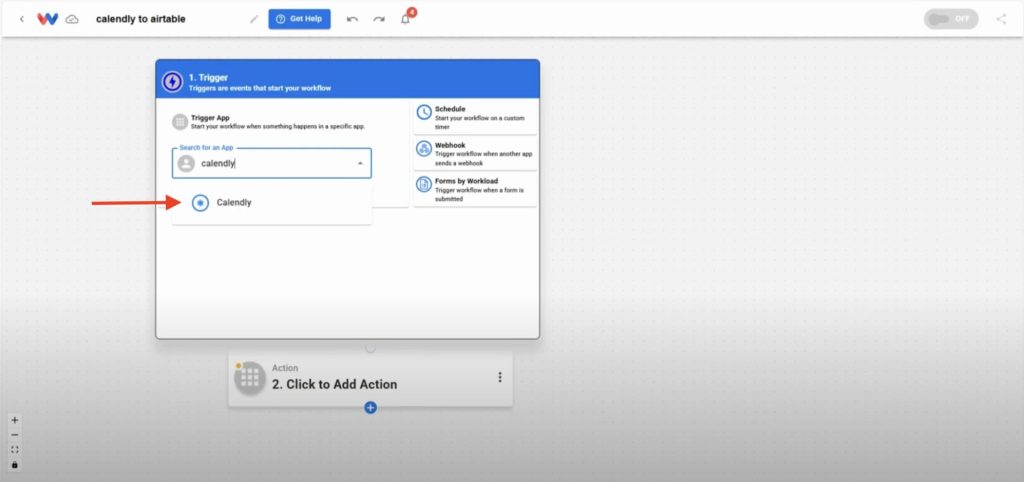
- Select the trigger app: Calendly
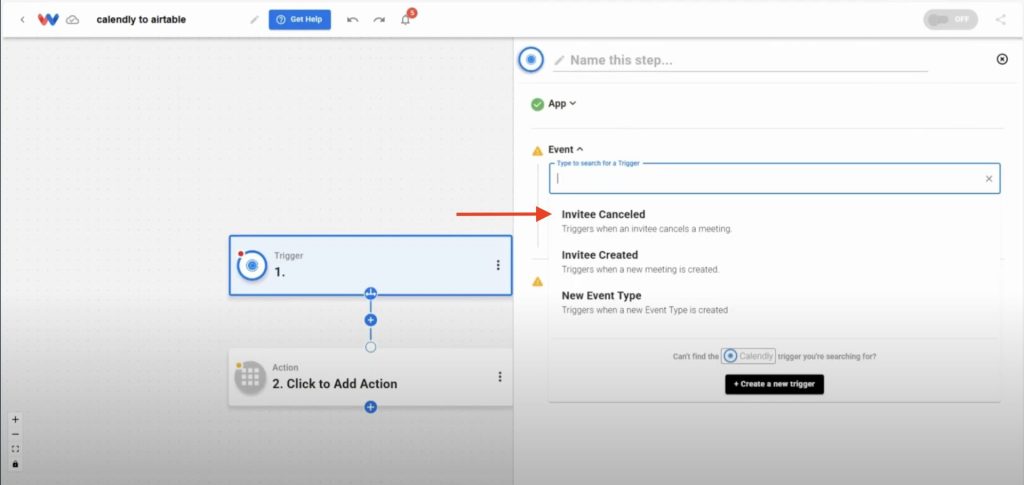
- Choose the trigger event: Invitee Created
- Securely connect your Calendly account to Workload
2. Test the Calendly Trigger #
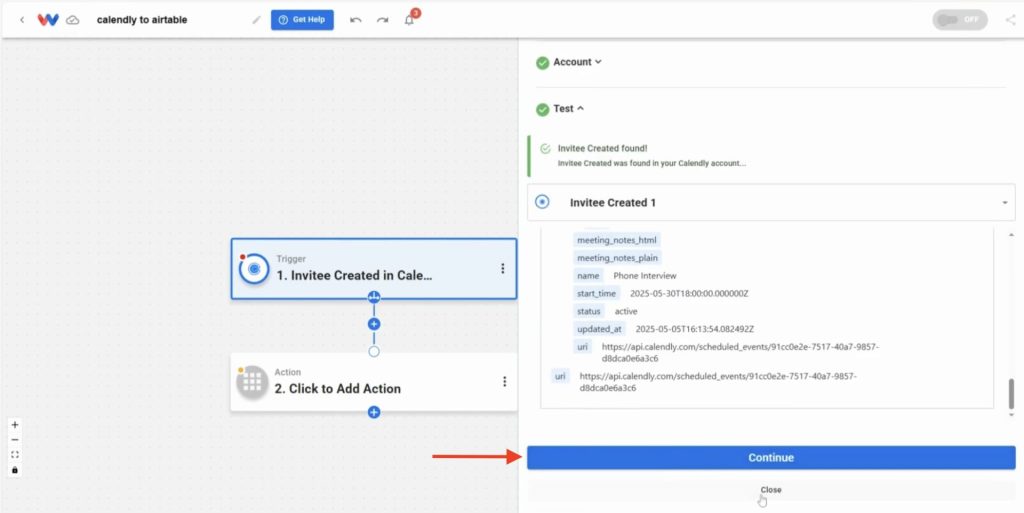
- Click Test Trigger
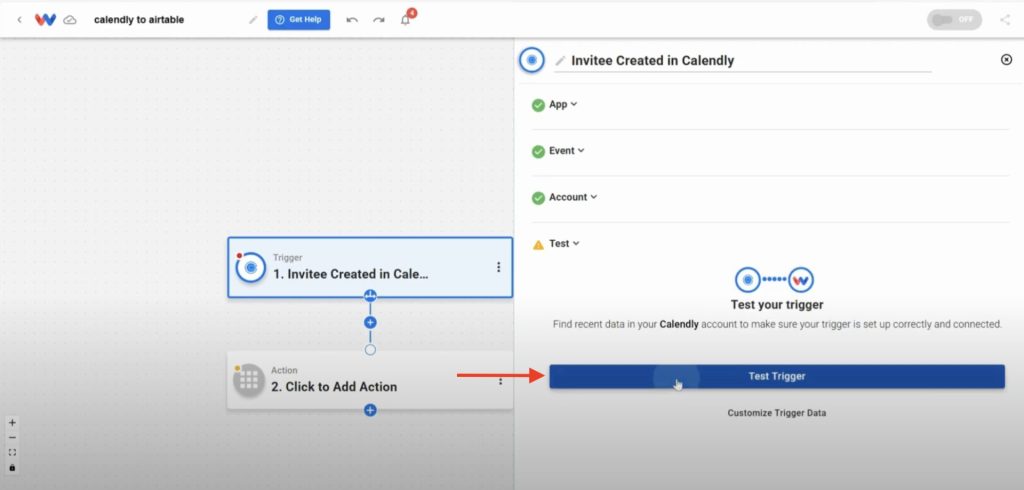
- Workload will pull in the most recent Calendly invitee (ex: “Squeeze Lehigh”)
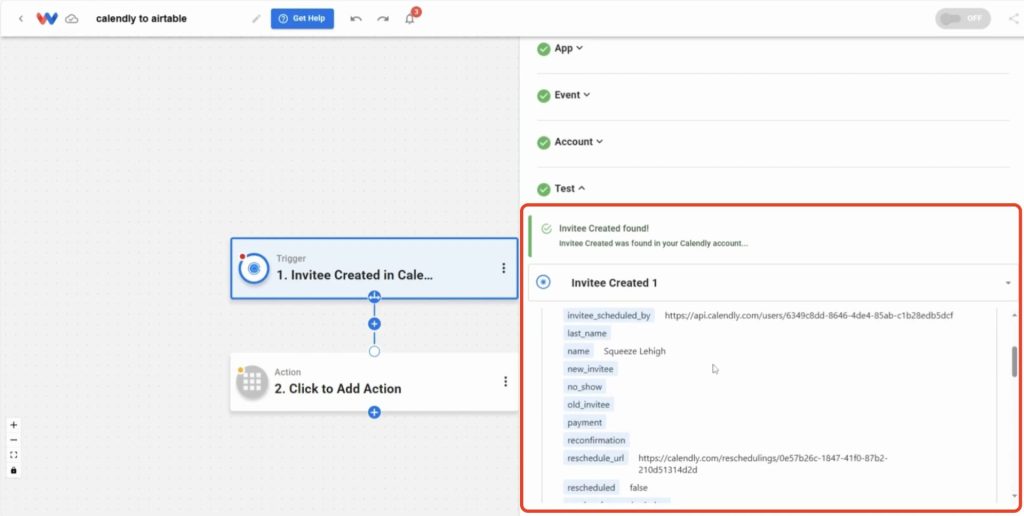
- If the data loads successfully, click Continue
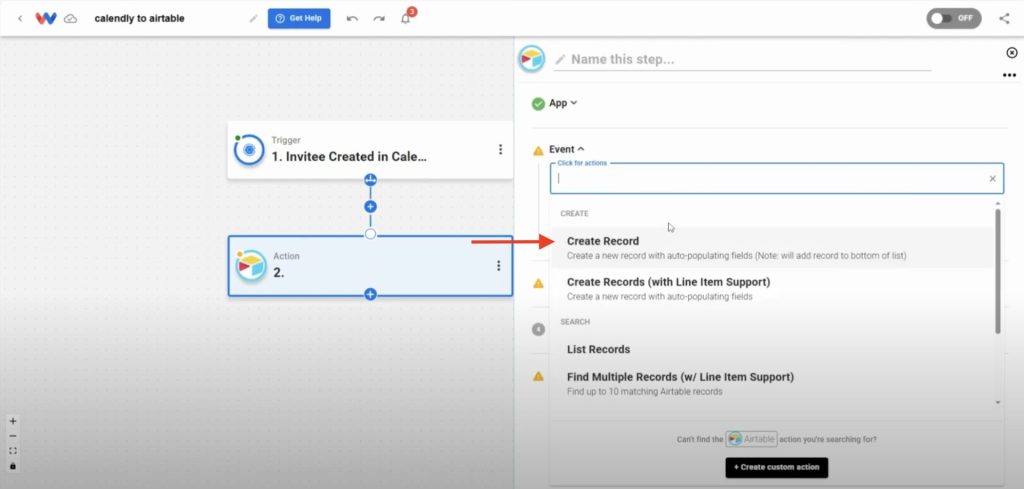
3. Add Airtable as the Action #
- In the Action step, select the app: Airtable
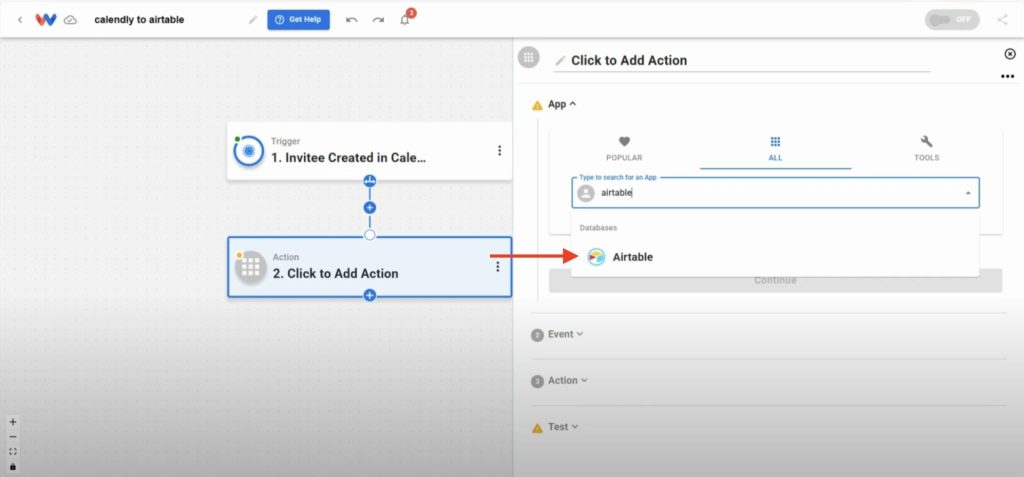
- Choose the action event: Create Record
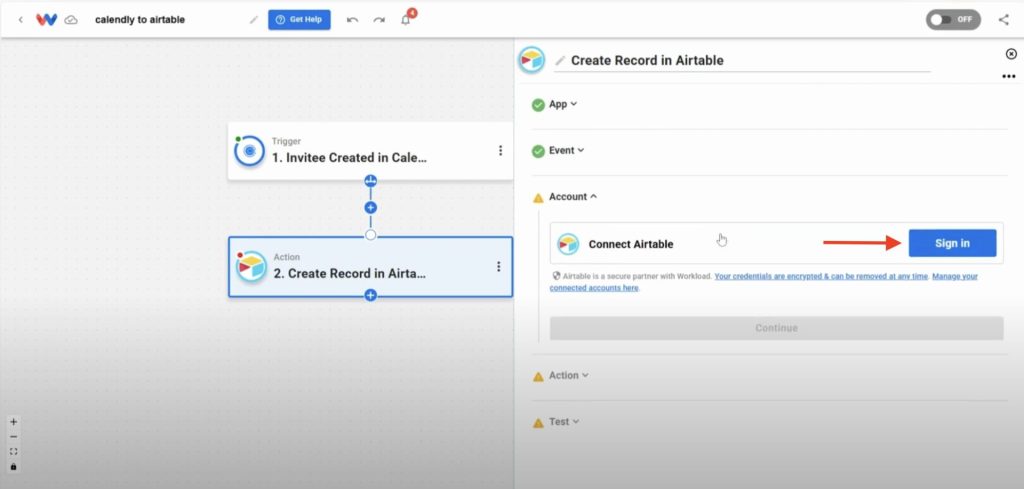
- Securely connect your Airtable account
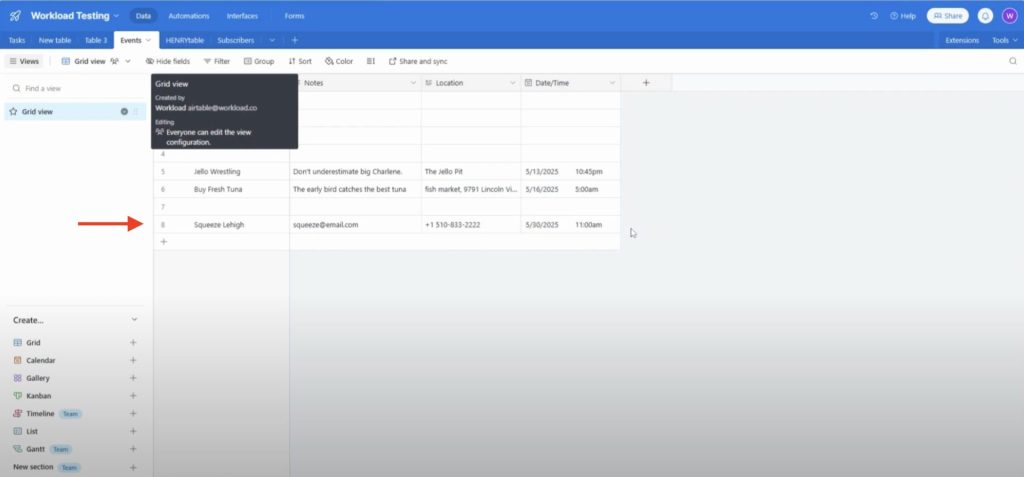
- Pick the base and table where you want to store the invitee data (ex: “Testing Base” → “Events”)

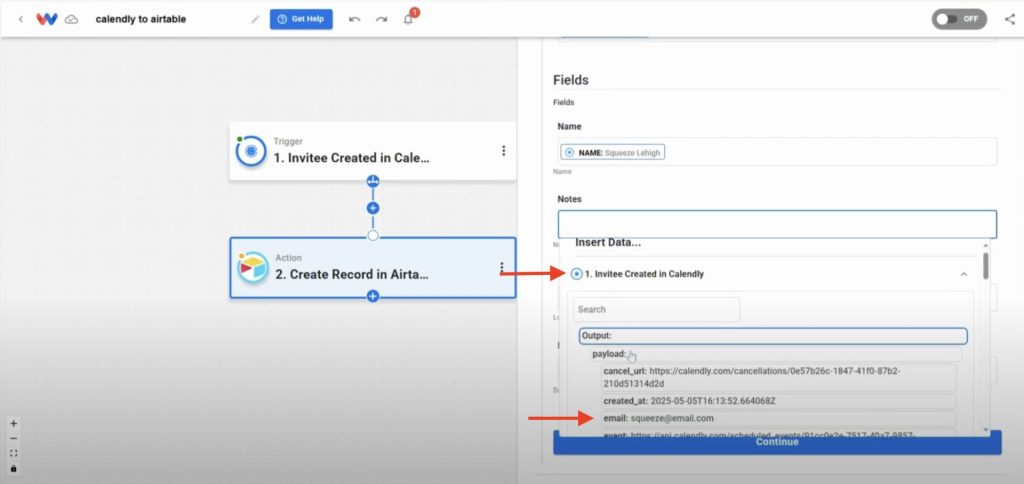
- Map the fields from Calendly to Airtable. Workload will load the available fields from your table automatically. From there, you can map the Calendly trigger data—like name, email, phone, and meeting time—to the fields that make sense for your workflow. This is an example of the mapping we chose based on the data available in the test table:
- Name → Invitee’s full name
- Notes → Invitee’s email address
- Location → Phone number
- Date & Time → Scheduled meeting time
4. Test and Activate the Workflow #
- Click Test Action to make sure Airtable creates the record successfully
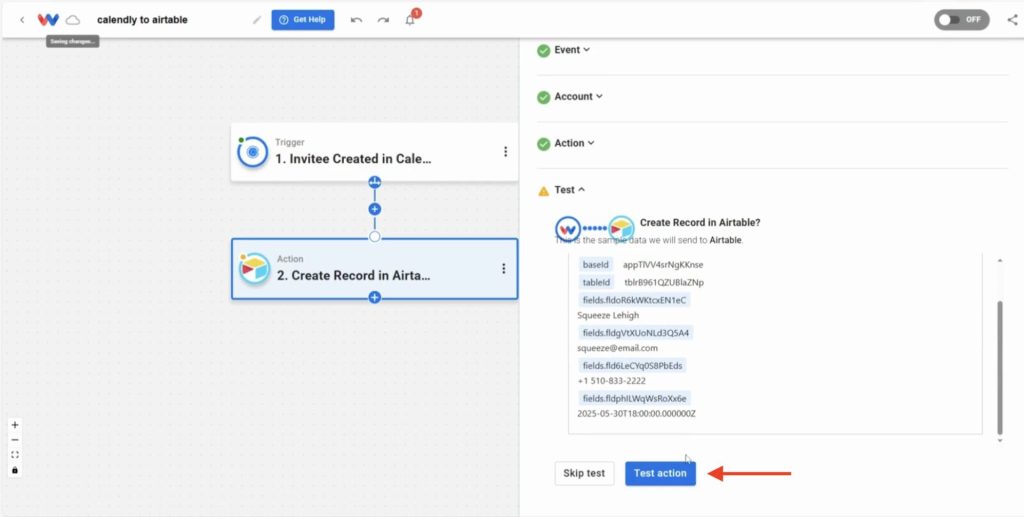
- Open your Airtable base and confirm that the new record appears with the correct info
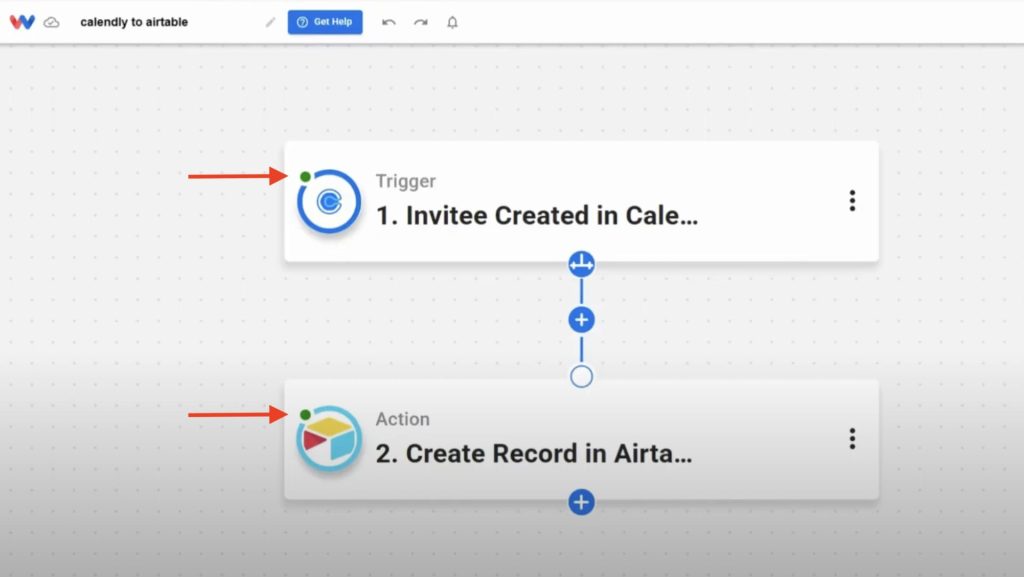
- Make sure each step in the workflow has a green indicator
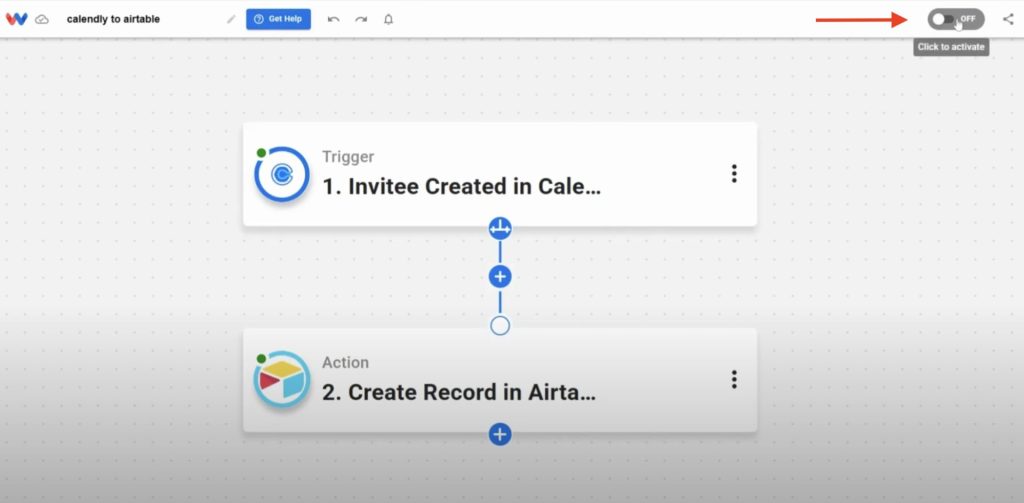
- Once everything looks good, click the On/Off toggle in the top-right corner to activate the workflow
🛠️ Customizing Your Workflow #
Once your workflow is live, you can easily adjust it to fit your team’s needs. Here are a few simple ways to customize it:
- Filter by event type
Only create records for specific Calendly events, like sales calls or onboarding sessions. - Send data to different Airtable tables
Use conditions to sort invitees into different tables based on event type or meeting length. - Map more fields
Add extra details like company name, job title, or answers to custom Calendly questions. - Add follow-up steps
After creating the Airtable record, send a Slack message, create a task, or trigger a welcome email.
These updates help you build a smarter, faster workflow that works the way your team does—no code needed.
🧠 Learn More #
Want to see this automation in action? Watch the companion video or head over to the Workload University channel, where Eliot will guide you through each step—no code, no confusion.
For more tips and setup guides, visit the Workload Help Center and start building smarter workflows today.
🔓Workflow Unlocked: Build a Customized Calendly Invitees to Airtable Workflow #
You’re ready to build your own Calendly-to-Airtable workflow—customized to match how your team works. Workload gives you the tools to automate it all without code, delays, or busywork.
👉 Try it on Workload and create a smarter way to work.


