Want your Slack status to match your calendar without lifting a finger? The Google Calendar to Slack Status workflow updates your Slack status each time a Google Calendar event starts. No code needed. Your team always knows if you’re in a meeting, deep focus, or away.
This integration removes the guesswork from your workday. It prevents missed calls and dropped messages by showing your true availability. It frees you from manual status updates so you can focus on your tasks. And it works silently in the background—so you never have to worry about forgetting to switch your status.
Need more help? Watch our tutorial video with your personal Workload guide, Eliot, who will coach you through the workflow-building process. You can also check out Workload University and our Help Center for more information and tips about how to take advantage of Workload’s no-code workflows.
Overview: Google Calendar to Slack Status Workflow #
This workflow does two things:
- Watch Google Calendar events: It looks for events that are about to start.
- Set your Slack status: When an event begins, it updates your status with the event’s details.
What you’ll need:
- A Google account with the calendar you want to watch
- A Slack account to set your status
- A Workload account to build and run the workflow

Step-by-Step: Build Your Workflow #
Step 1: Set Up the Trigger (Google Calendar)
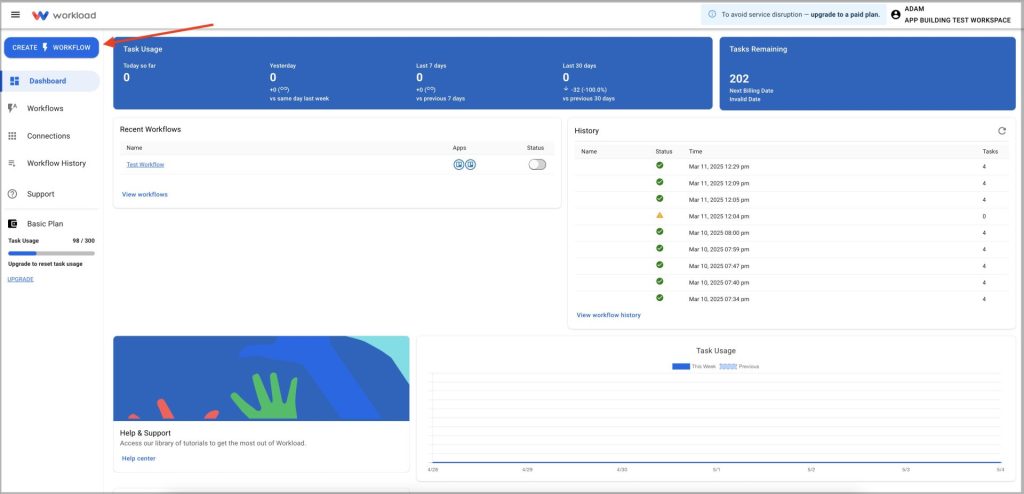
- Create Workflow: Log in to the Workload dashboard and click Create Workflow.
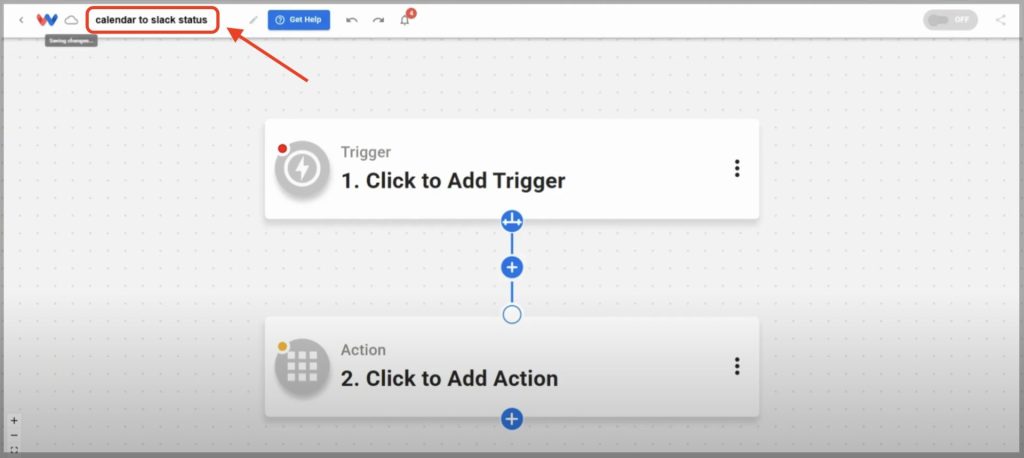
- Name Workflow: Enter a unique name for the workflow. (ex: Google Calendar to Slack Status)
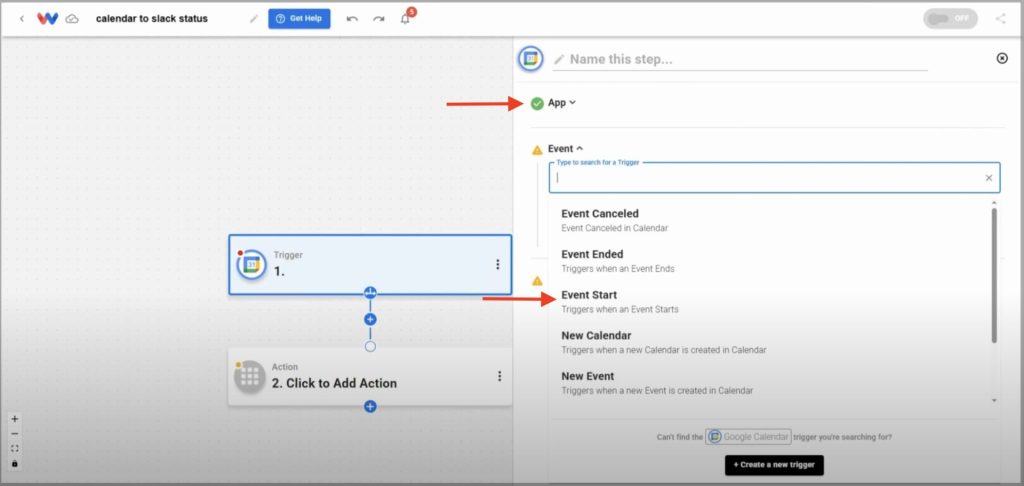
- Choose Trigger App & Event: Select Google Calendar, then choose Event Start.
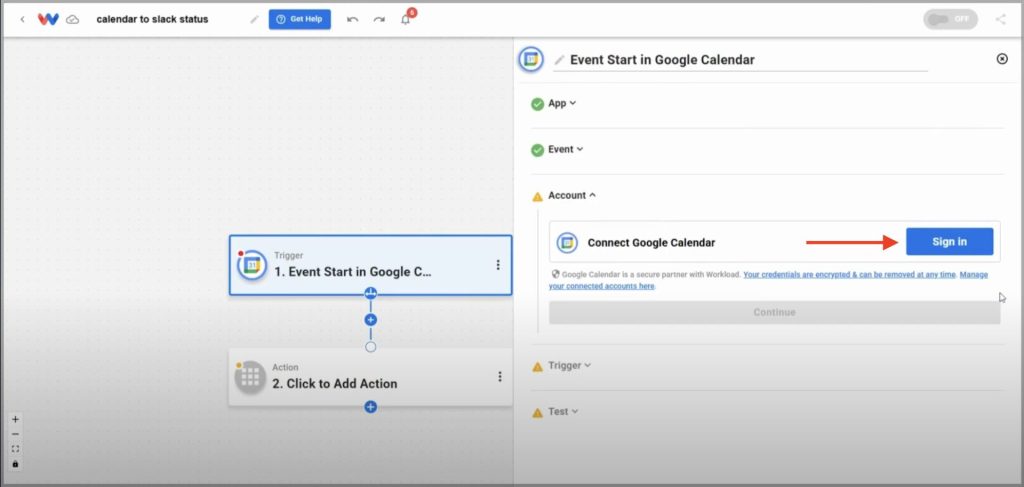
- Connect Account: Sign in to your Google account or select an existing connection.
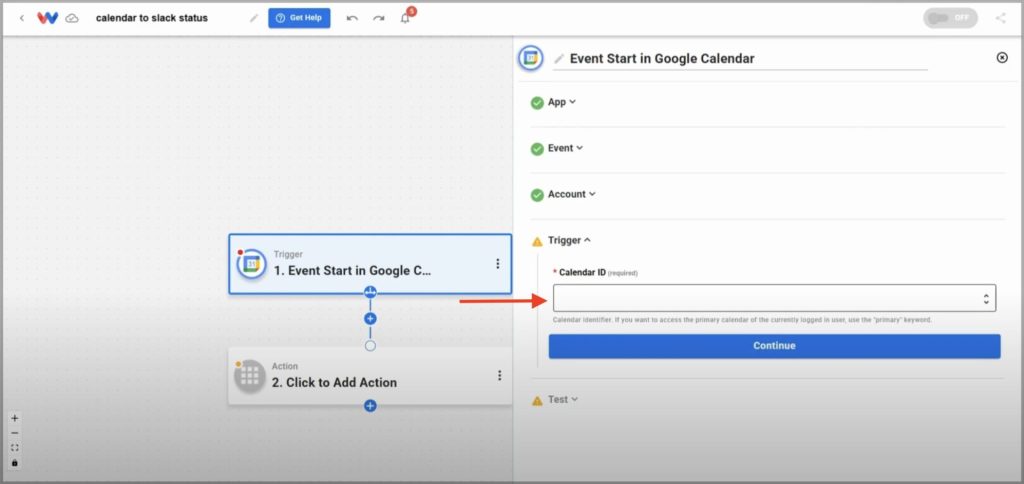
- Select Calendar: Pick the calendar you want to monitor from the dynamic dropdown. (ex: “Work Calendar”)
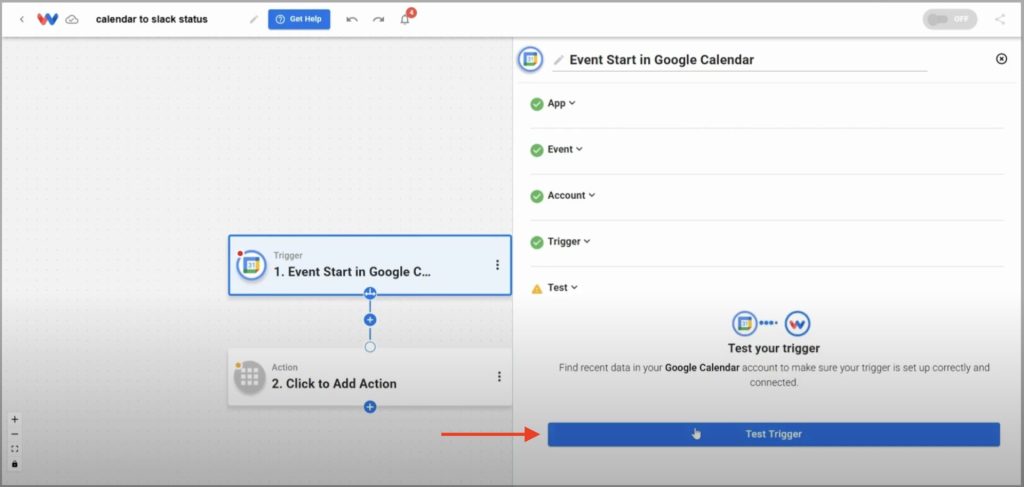
- Test Trigger: Click Test Trigger to pull in a sample event.
Step 2: Setup the Action (Slack)
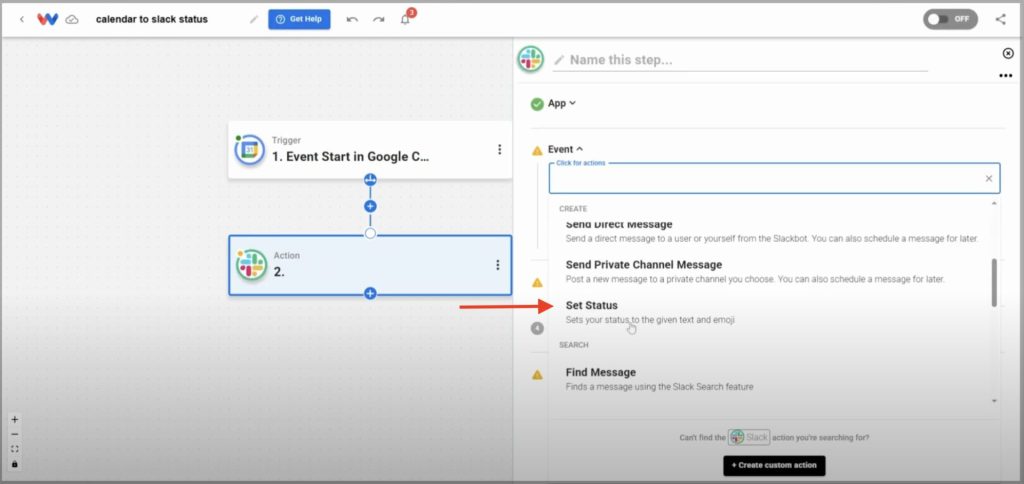
- Choose Action App & Event: Select Slack, then choose Set Status.
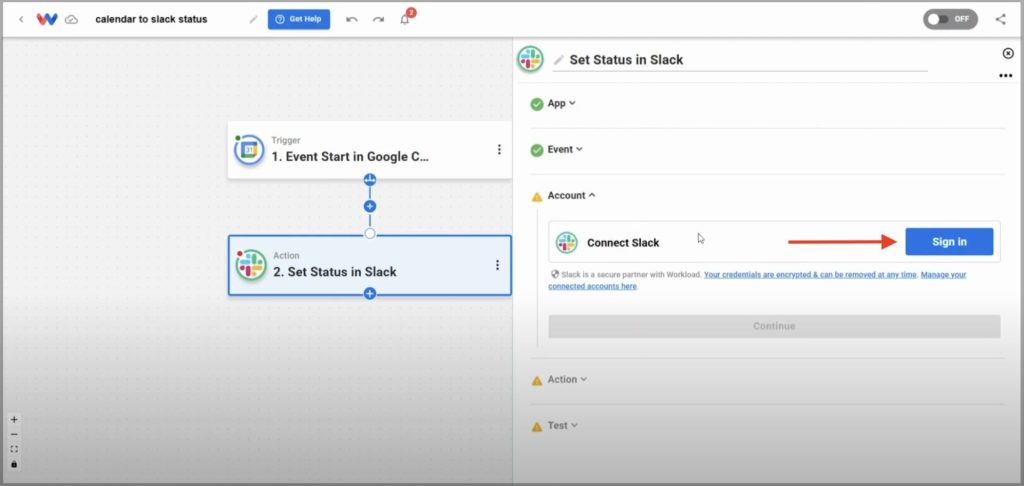
- Connect Account: Sign in to your Slack account or select an existing connection.
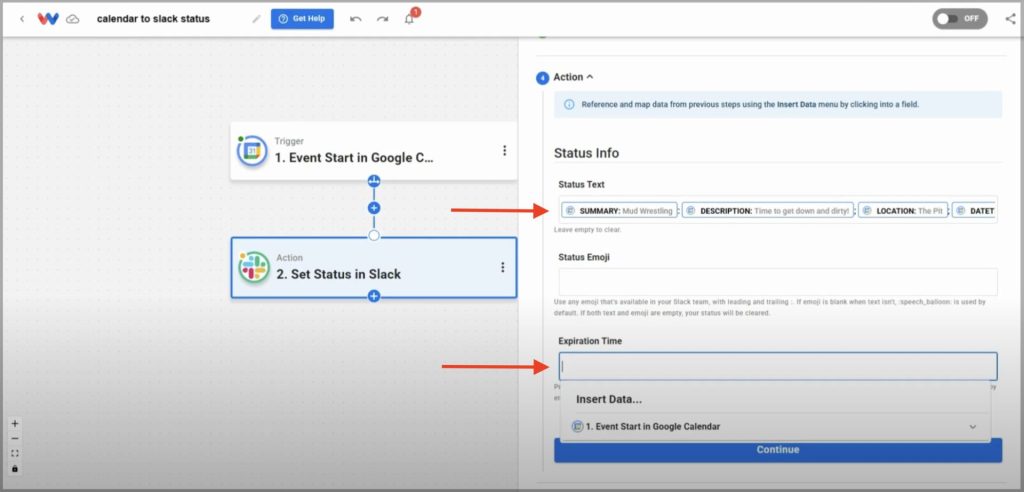
- Fill in Status Info: Map the fields in the Status Info section to customize the status the way you want.
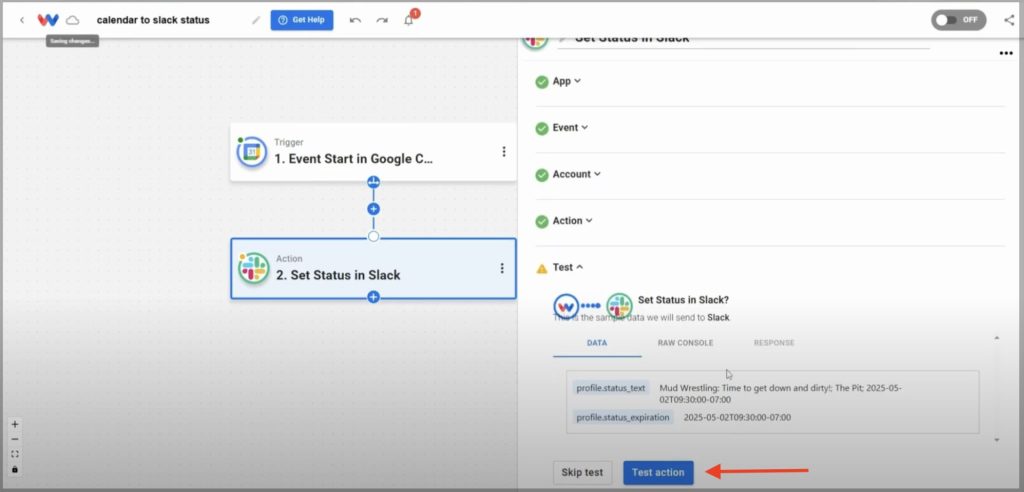
- Test the action: Click Test Action to verify your Slack status updates correctly.
Step 3: Activate the Workflow
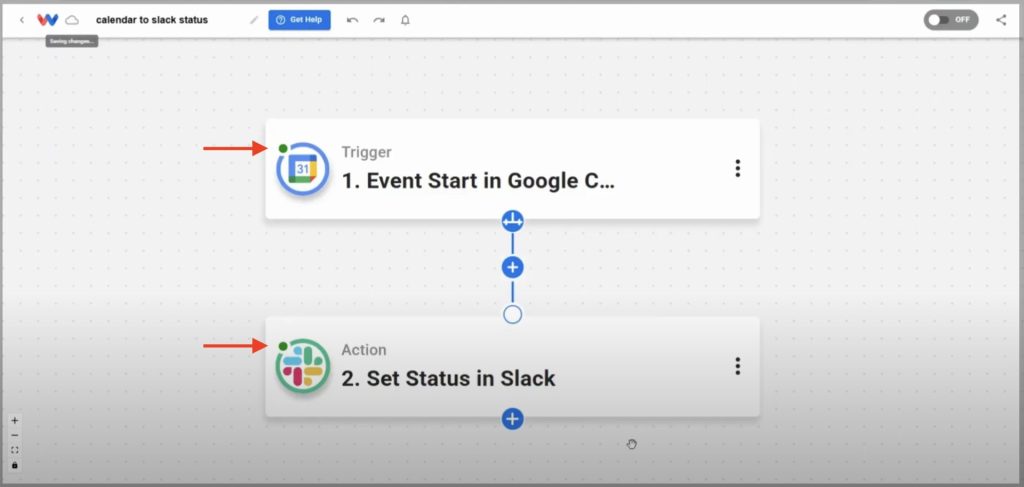
- Check Each Step: Confirm both trigger and action show green light indicators.
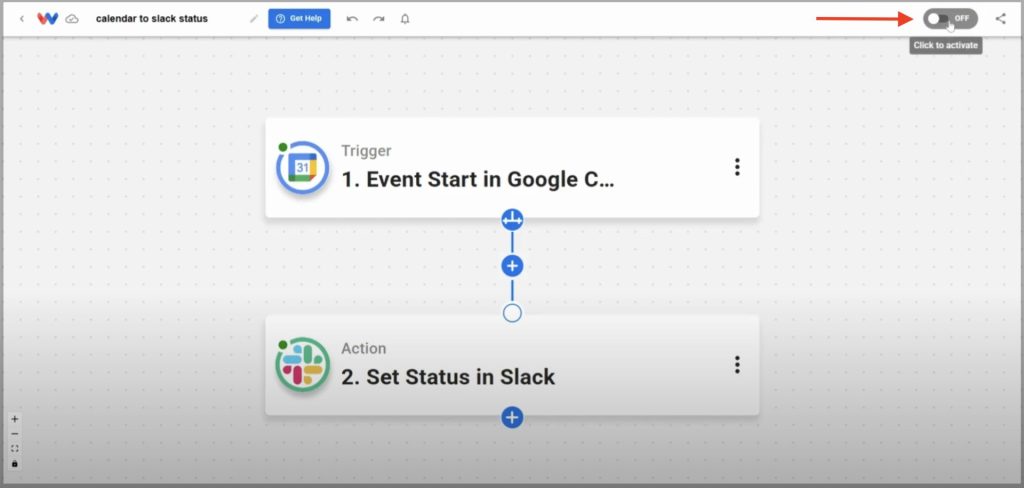
- Activate Workflow: Toggle the workflow On to make it live.
- Confirm Live Workflow: Wait for your next calendar event to start and verify your Slack status updates.
Closing Thoughts #
This Google Calendar to Slack Status integration saves time and noise. It keeps your status accurate without extra steps. Your team sees when you’re busy or free, so they know when to reach you. Setup takes minutes, not hours. No code. No fuss.
Want to automate even more tasks? Use Workload templates to build your own workflows, or browse our guide library for more integrations. For additional help, visit Workload University or our Help Center. With Workload, automation doesn’t need to be complicated—it just needs to work.
Automate your work—simplify your day!
#Slack #GoogleCalendar #NoCodeAutomation #WorkFromHomeTools #SlackTips #ProductivityHacks #WorkflowAutomation #WorkloadAutomation #SlackStatus #CalendarIntegration


