Have you ever been stuck working late putting together reports on a Friday in order to get them out to your boss in time? We’ve all been there. Now with Workload, you can create an automated workflow that searches for the file on your team’s Google Drive on the due date, and emails them to your team!
Getting started with Google Drive
The only prerequisite to creating this workflow is that you’ll need to have access to your team’s Google Drive account, and a file that you’ve been working on. The file can be a Google Doc or a Google Sheet, but for the purpose of this exercise we’ll only be talking about a Google Sheet.
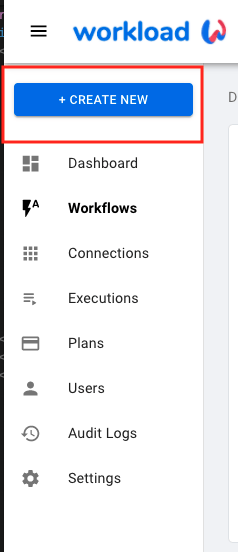
First, if you haven’t already, sign in with your Workload.co account (it’s free to get started). Next, click on “create new” to start building a new automation.

Set up a trigger
All this means is setting up an event that will trigger the workflow. In our example we have a fictitious meeting on Friday at 3pm where our team is reliant on someone emailing out a spreadsheet of data. Instead of relying on someone to do it, let’s rely on a computer instead – computers never get sick or go on vacation!
We need to set up a schedule for this workflow to run every week, on Friday, at 3pm locally. Setting that up with Workload is a breeze.

Select “schedule” from the list of triggers and fill out the form appropriately to specify a weekly cadence on Friday at 3pm.
Click on “CREATE TRIGGER” and look for the confirmation that the schedule was successfully created.
Search for file on Google Drive
Next, you’ll want to drag the right handle of the trigger “node” onto the canvas and drop/release the mouse button. This will add a new step to the flowchart called an “action.” Actions are what happens after the trigger. Click the node and then select Google Drive and click “Next”.
Authenticate your Google Drive account by selecting the appropriate email address associated with the Drive where the file is being stored.
Now you can select the action you want to do with Google Drive, which is going to be ‘search for file’. Type in the name of the file you want to search and email out. In this case we have file called “Skills Temp Table” which has a list of skills to hire temporary workers for.

Click on “Next” and then “Test Action.”
Now your screen will update to show the results (if successful) of the file you searched for. We can see all the info about the file such as it’s Google Drive id, name, owner info, meta data such as links to download the csv or xlsx version, etc.

Send the outbound email
Just like before, drag the handle of the Google Drive node onto the canvas to create a new action.
This time we’ll be using an email app (either Gmail, Outlook, or our internal email utility). For this example, we’ll use the outbound email utility we built internally for its simplicity.
Select “Send Email” as the app and use “Send Outbound Email” as the specified action. Fill out the appropriately being sure to include the To, Subject, Message, and Attachment fields as needed for your example.

Take a special note on how you can reference fields from the Google Drive data step. When you click into a text box in the “Send Email” app, you can select values from prior steps like this:

Test and Send!
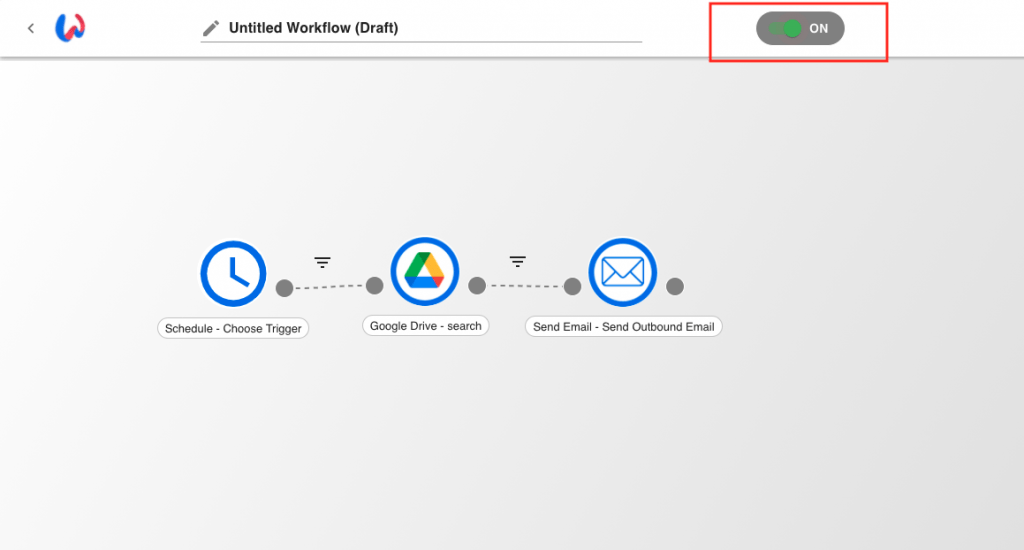
Now you’re basically done! Just click next, test the data and check your team’s emails to make sure it sent through. The last important step is to ACTIVATE your workflow by clicking it from OFF to ON using the switch in the upper right.


