If you’re still copying Shopify customer details into Mailchimp by hand, you’re wasting time and missing out on opportunities. Building your own Shopify Mailchimp Contact Sync workflow with Workload solves both of these problems. It isn’t just a simple connector. This AI-powered automation cleans up complex data—like shipping addresses—and sends it straight to your Mailchimp audience, with no manual work.
Now each new customer in your store goes right into your mailing list with tidy, accurate details. Whether you’re sending welcome emails, birthday offers, or segmented campaigns, your list stays current—so your team can focus on growing sales, not on data entry.
Need more help? Watch our instructional video with Eliot, your personal Workload coach who will guide you through all of the steps. You can also check out Workload University or our Help Center for more guides and tips.
How It Works #
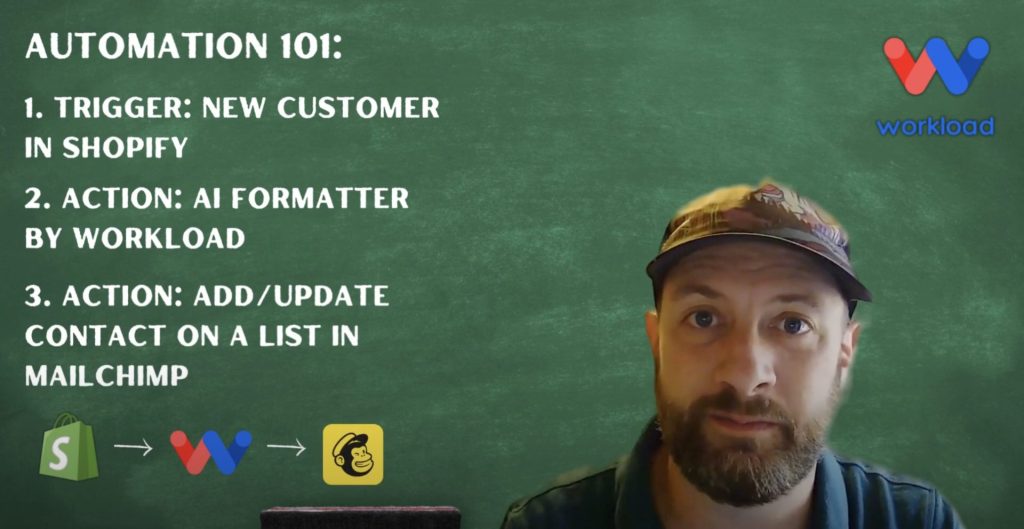
This integration does three things:
- Detects New Customers in Shopify: It starts when someone new signs up or places an order.
- Cleans and Formats the Data with AI: It grabs names, emails, and addresses, then flattens any arrays into simple fields.
- Adds or Updates Contacts in Mailchimp: It pushes only the cleanest data to your list automatically.
What You’ll Need:
- A Shopify store with API access
- A Mailchimp account with at least one audience list
- A Workload account to build and run this workflow
Step-by-Step: How to Build a Shopify Mailchimp Contact Sync Workflow #
Step 1: Set Up the Trigger (Shopify) #
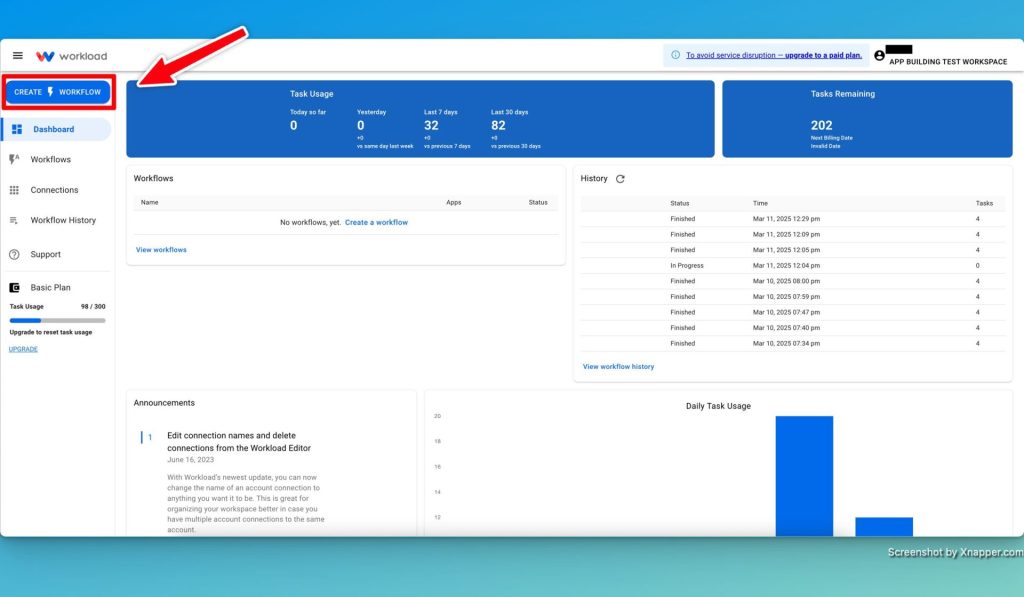
- Create Workflow: Login to Workload and click Create Workflow.
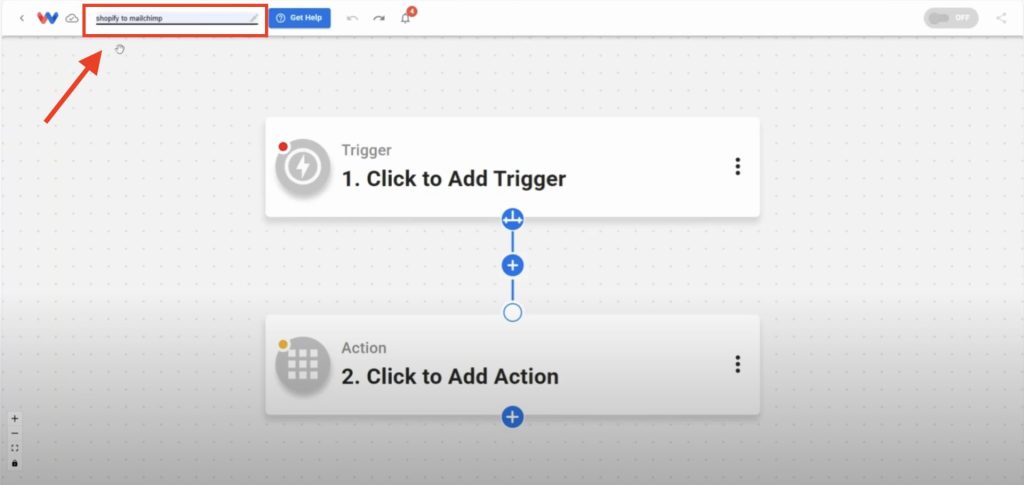
- Name Your Workflow: Use something clear like “Shopify to Mailchimp Contact Sync.”
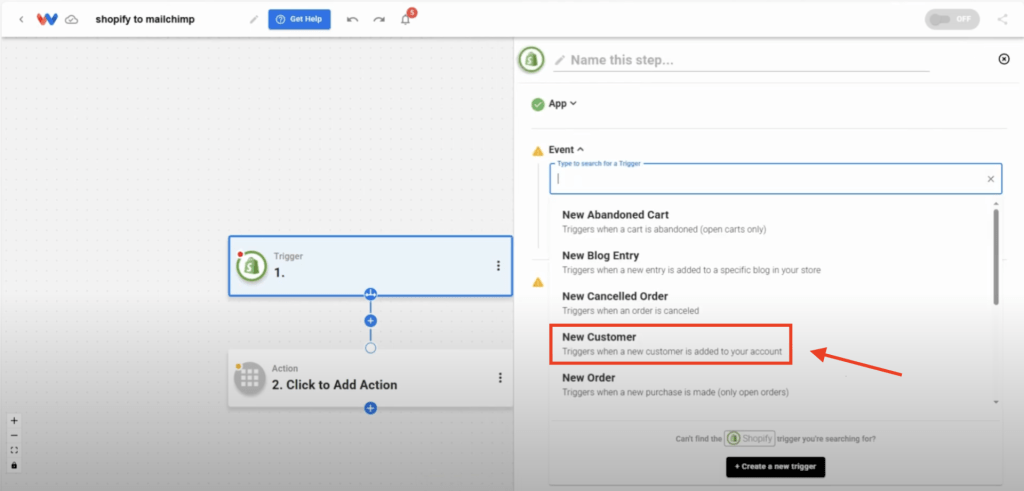
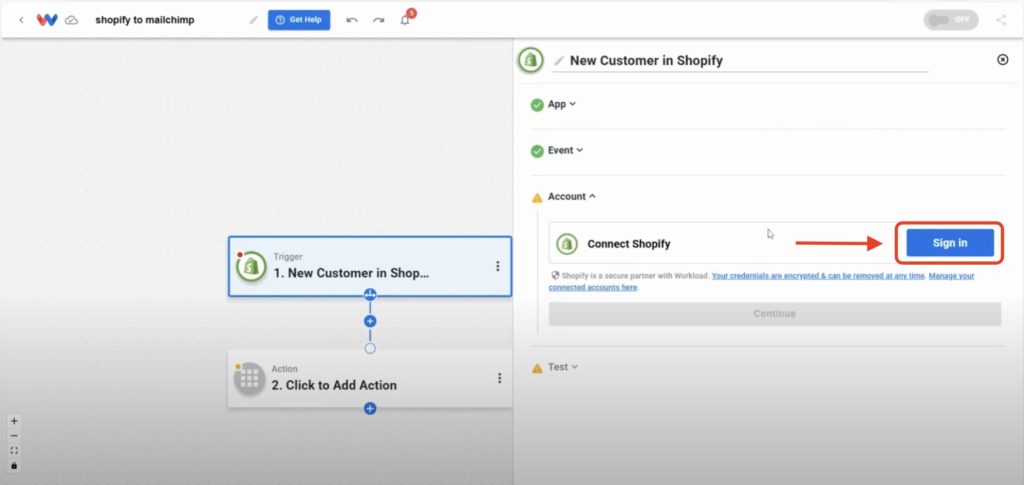
- Choose Trigger App & Event: Pick the Shopify app and then choose New Customer as the event.
- Connect Your Shopify Account: Sign in to your Shopify account to securely connect your store.
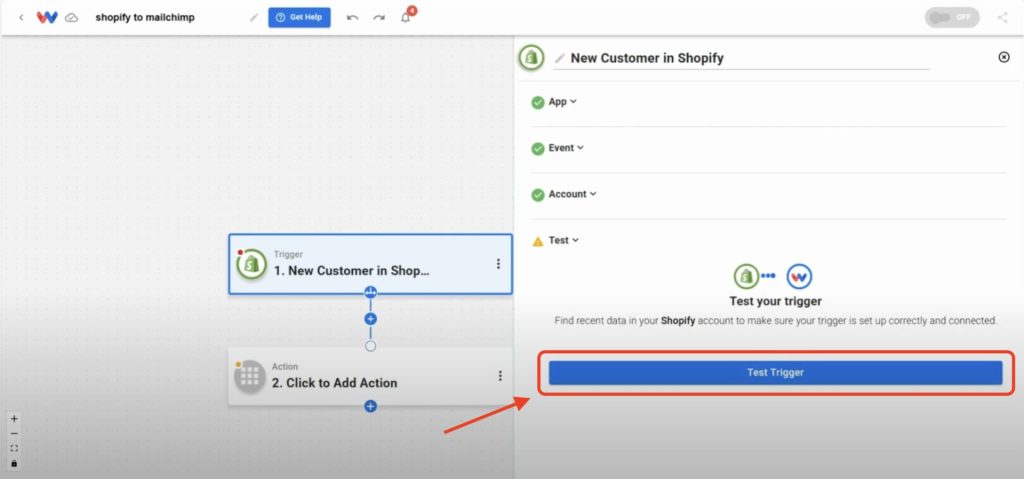
- Test the Trigger: Click Test Trigger to pull in sample customer data.
Step 2: Format Customer Address (AI Formatter by Workload) #
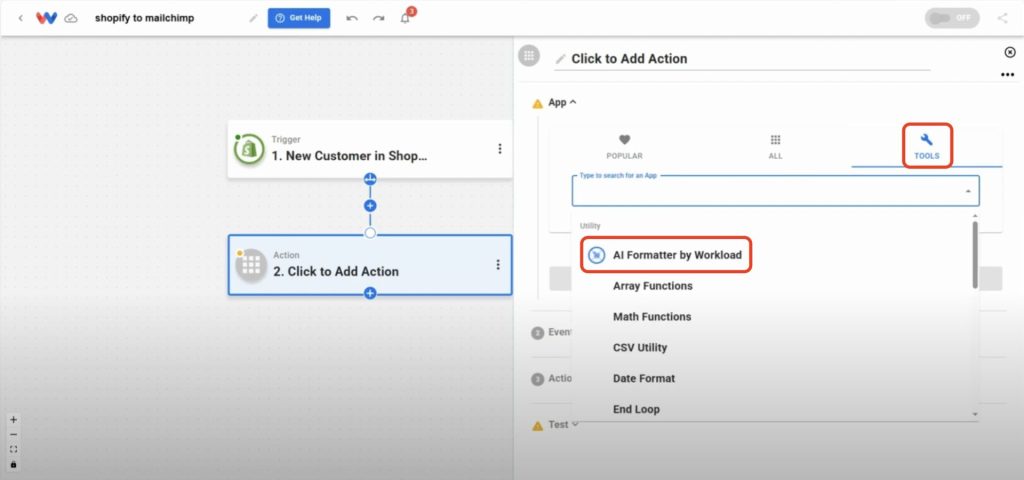
- Add a Formatter Action Step: In Step 2, click the Tools icon and choose AI Formatter by Workload.
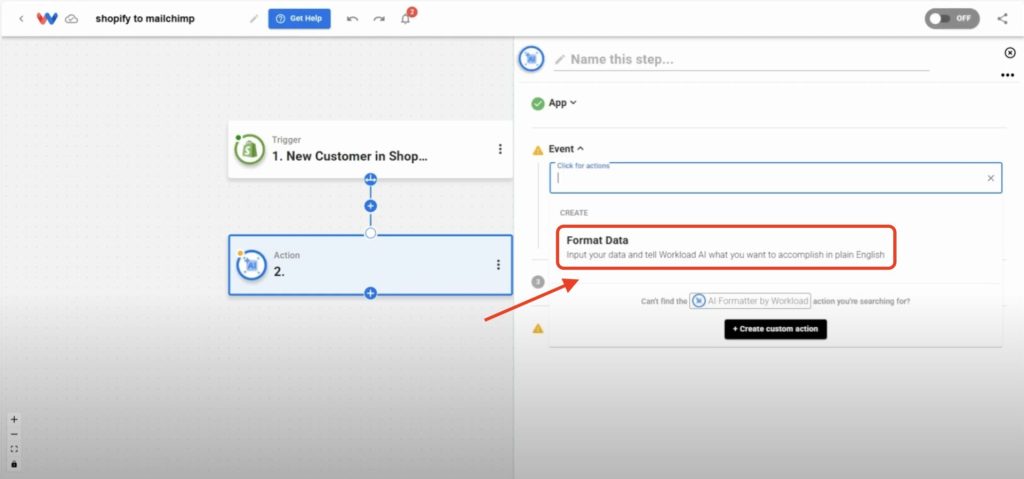
- Choose Event: Select Format Data.
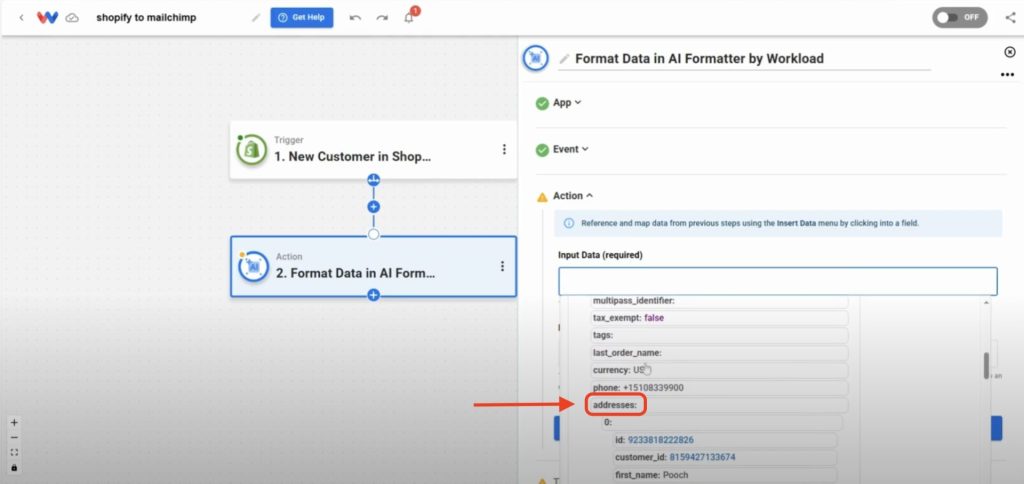
- Select Input Data: Choose the array from the Shopify trigger that you want to format. (ex: addresses)
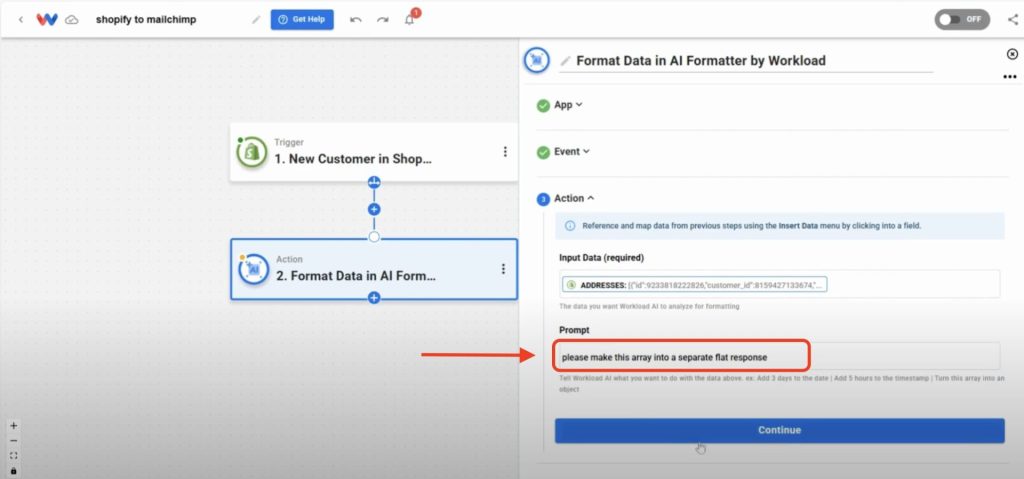
- Prompt the AI Formatter: Try a prompt like “Please make this array into a separate flat response”.
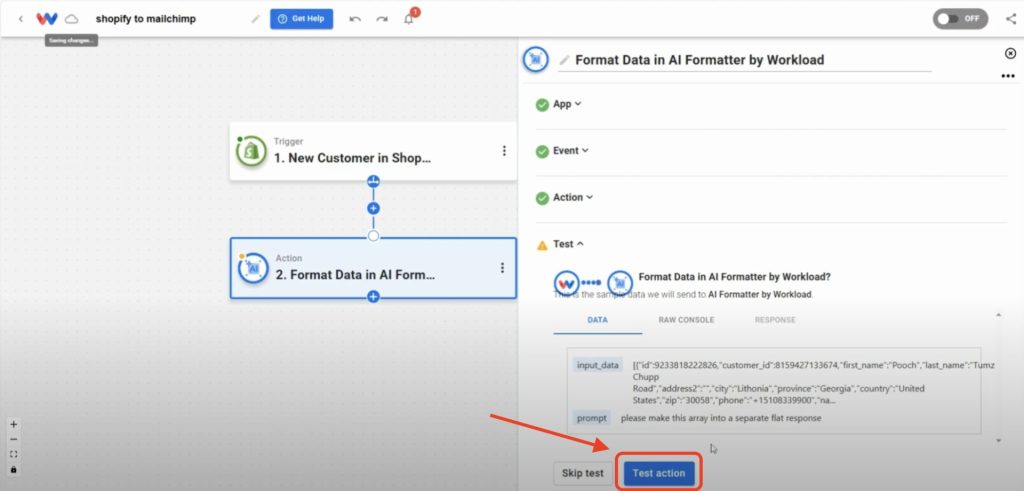
- Test the Action: Click Test Action to see the flattened address fields.
Step 3: Setup Add Customer Action (Mailchimp) #
- Add an Action Step: Click + Add Action and choose Mailchimp.

- Select the Event: Choose Add or Update Contact on a List.

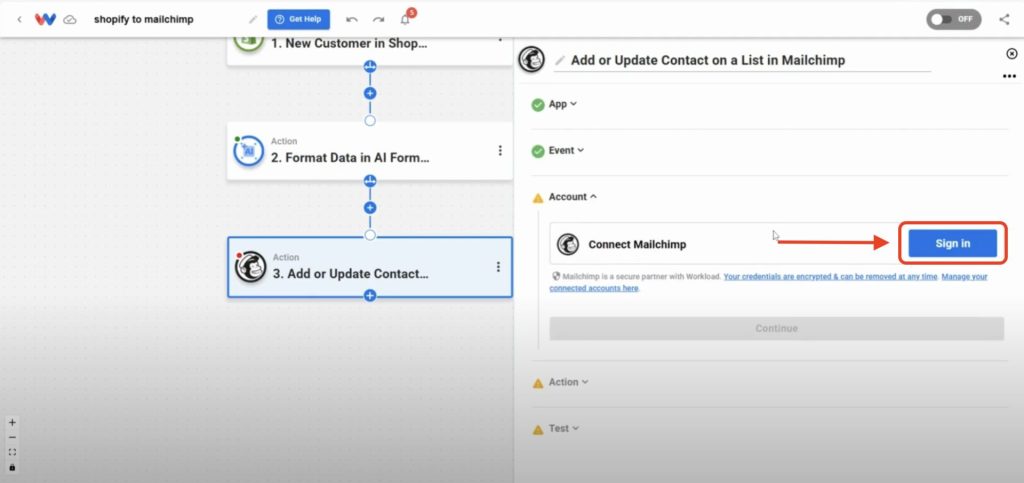
- Connect Your Mailchimp Account: Sign in to securely connect your Mailchimp account or choose an existing connection.
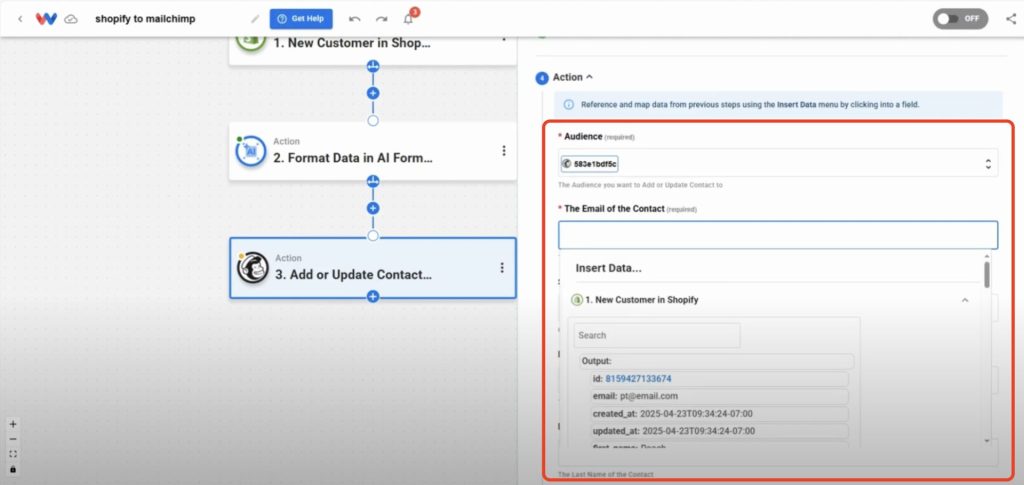
- Map Data Fields: Use a combination of Step 1 and Step 2 to fill in required fields. Here are examples of commonly used fields:
- Audience: Choose the audience from the dynamic dropdown
- Email: From Shopify trigger
- First Name / Last Name: From Shopify trigger
- Birthday: (Optional) If available in the notes section of Shopify
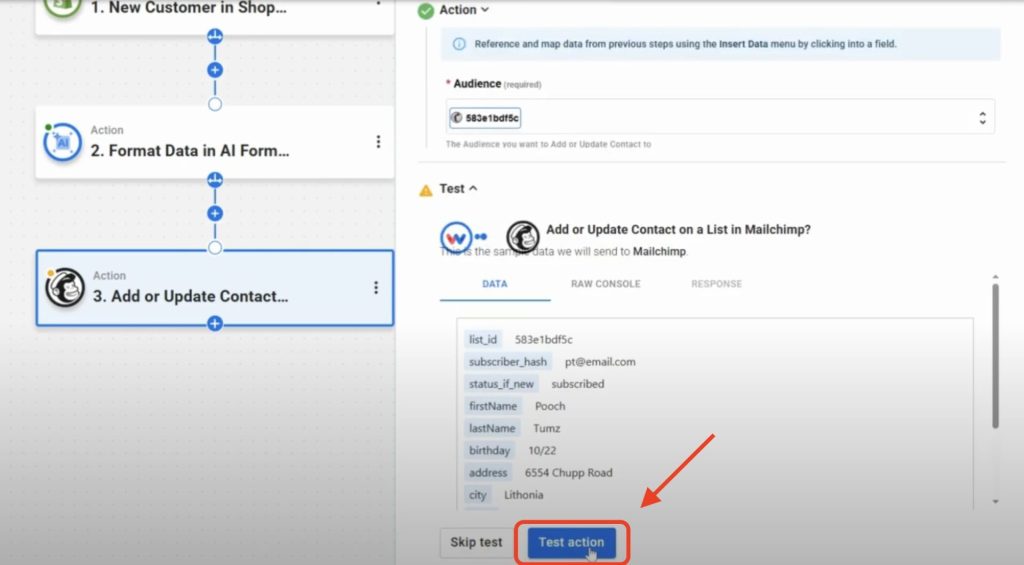
- Street Address / City / State / ZIP: From AI Formatter output
- Phone Number: From Shopify trigger
- Test the Action: Click Test Action to confirm that it works.
Step 4: Activate Your Shopify Mailchimp Contact Sync Workflow #
- Check All Steps: Make sure every node has a green indicator.
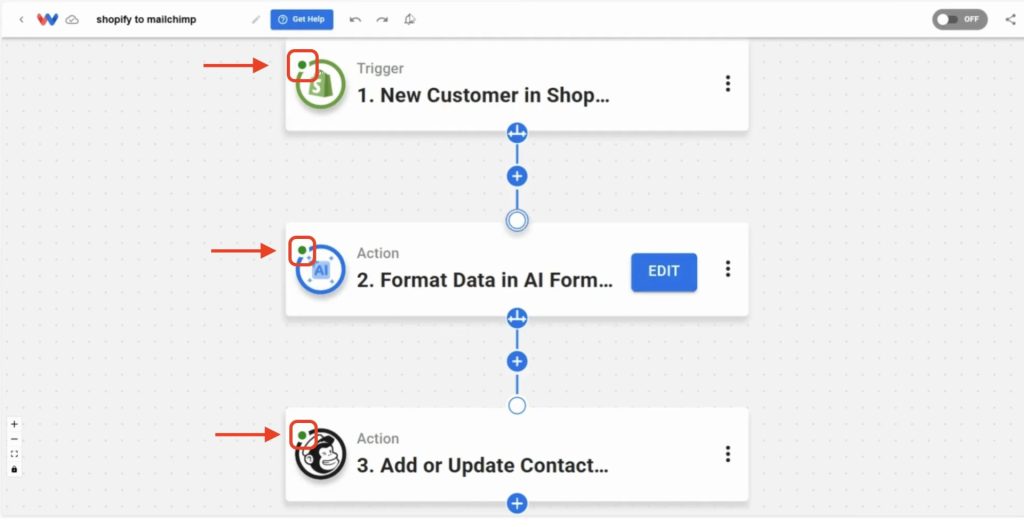
- Activate the Workflow: Toggle the workflow ON to start automatic syncing.

Put Your Shopify Mailchimp Contact Sync Into Action #
Once this workflow is live, it does the heavy lifting for you. New Shopify customers are added to your Mailchimp list instantly, perfectly formatted and customized for your campaigns.
Want to automate even more tasks? Use Workload templates to build your own workflows or browse our guide library for more integrations. For additional help, visit Workload University or our Help Center. With Workload, automation doesn’t need to be complicated—it just needs to work.
Automate work—free up time!


