Tired of digging through HubSpot to keep your team organized? With the HubSpot Form Submissions to Google Sheets workflow, Workload listens for new HubSpot form entries, formats the data, and then adds it to a new row in a Google Sheet—all without lifting a finger. Every customer concern, sales lead, or support request is captured in real time, with data that’s easy to review, share, and act on.
You decide exactly how the data flows. Pick only the form fields you care about—name, email, customer concern, or any custom properties. Choose which spreadsheet receives the data, map each field to a column, and even add conditional formatting or extra steps. This flexibility means you build a workflow that fits your process perfectly, saves you hours, and keeps your records clean and up to date.
Need more help? Watch our instructional video with your personal Workload guide, Eliot, who will coach you through the workflow-building process. You can also check out Workload University and our Help Center for more information.
Overview: HubSpot Form Submissions to Google Sheets Workflow #
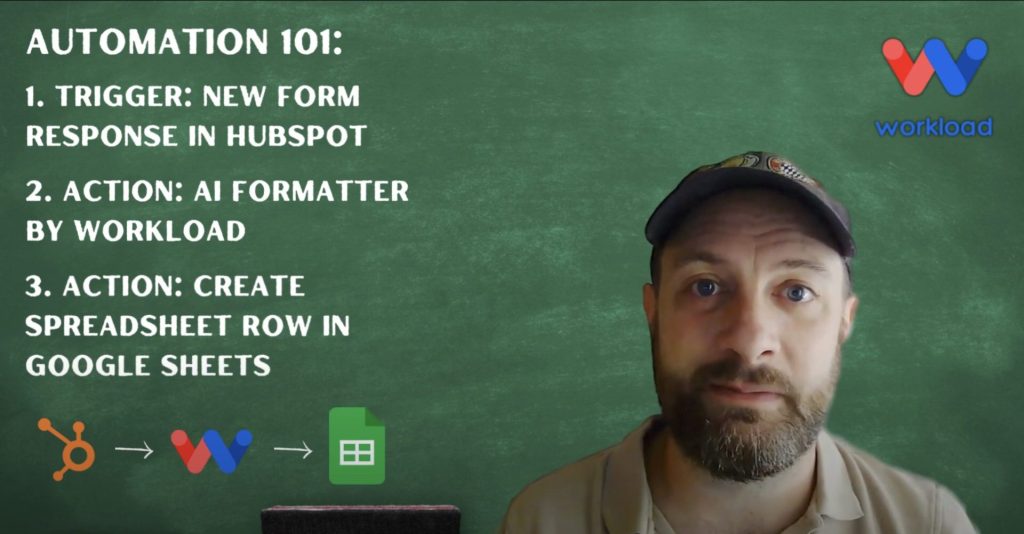
This workflow has three primary tasks:
- Listen for New Form Submissions in HubSpot: The workflow starts when someone submits your chosen HubSpot form.
- Clean and Format Data: Workload’s AI Formatter extracts fields out of HubSpot’s response format them into individual properties.
- Create a Google Sheets Row: It maps the clean data into specific columns in your spreadsheet.
What You’ll Need:
- A HubSpot account with at least one published form
- A Google account with access to Google Sheets
- A Workload account to build and run the workflow
Step-by-Step: Create a Customized HubSpot Form Submissions to Google Sheets Workflow #
Step 1: Set Up the Trigger (HubSpot) #
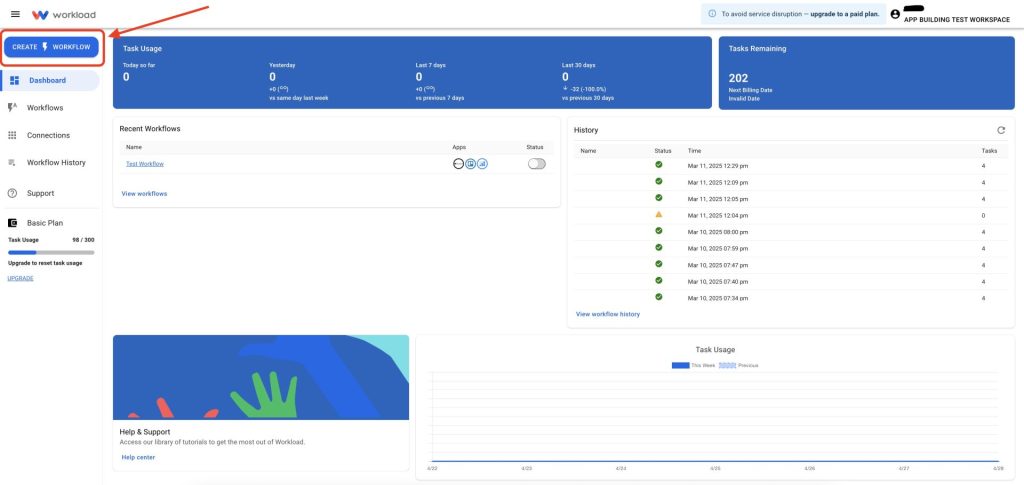
- Create Workflow: Log in to the Workload dashboard and click Create Workflow.
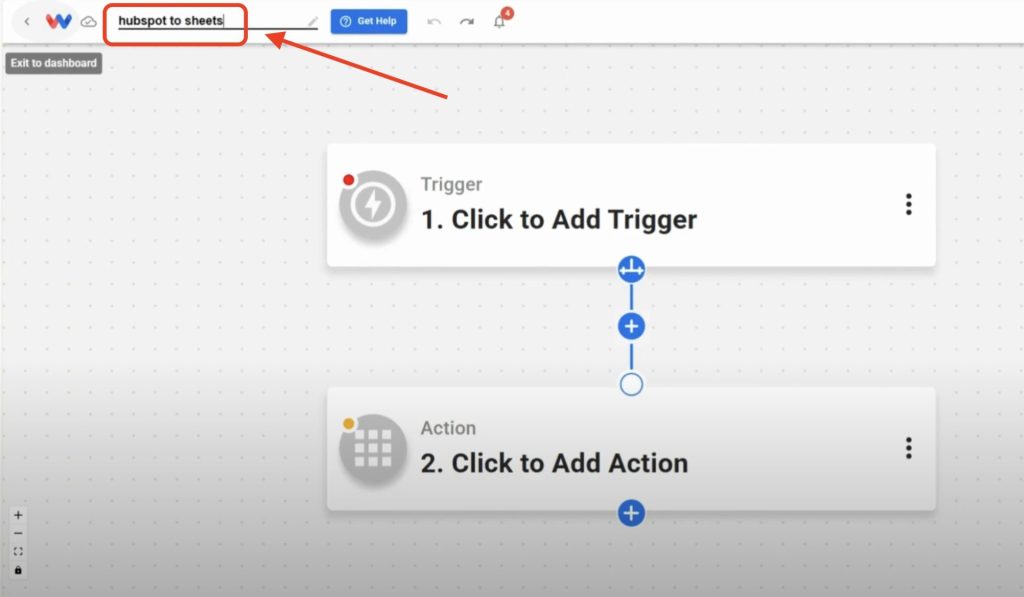
- Name Workflow: Give your workflow a new name. (ex: HubSpot Submissions to Google Sheets)
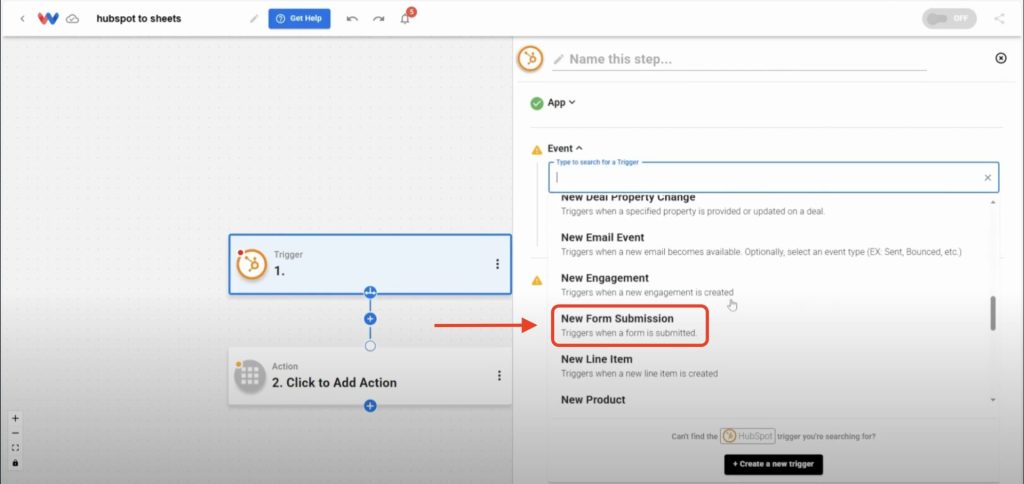
- Choose Trigger App & Event: Select HubSpot as the trigger app, then choose New Form Submission as the event.
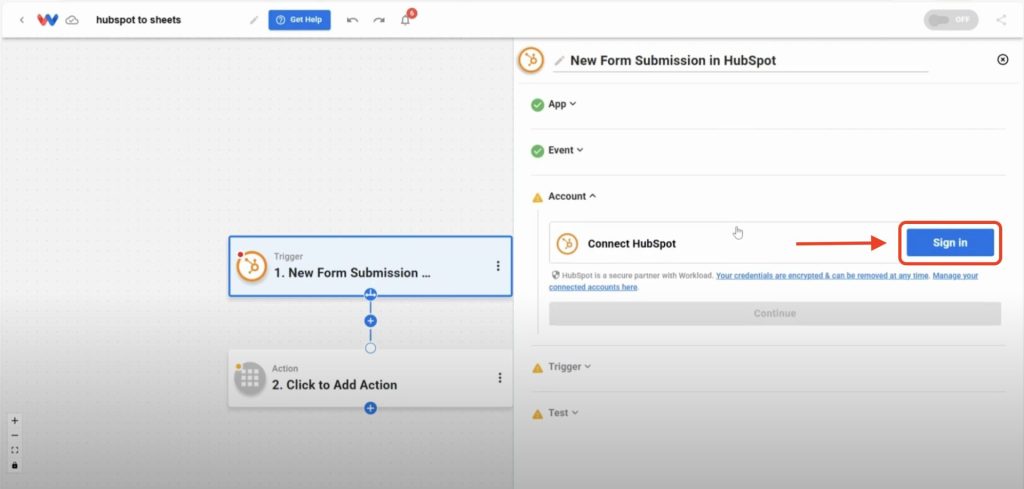
- Connect Your Account: Sign in to securely connect your HubSpot account.
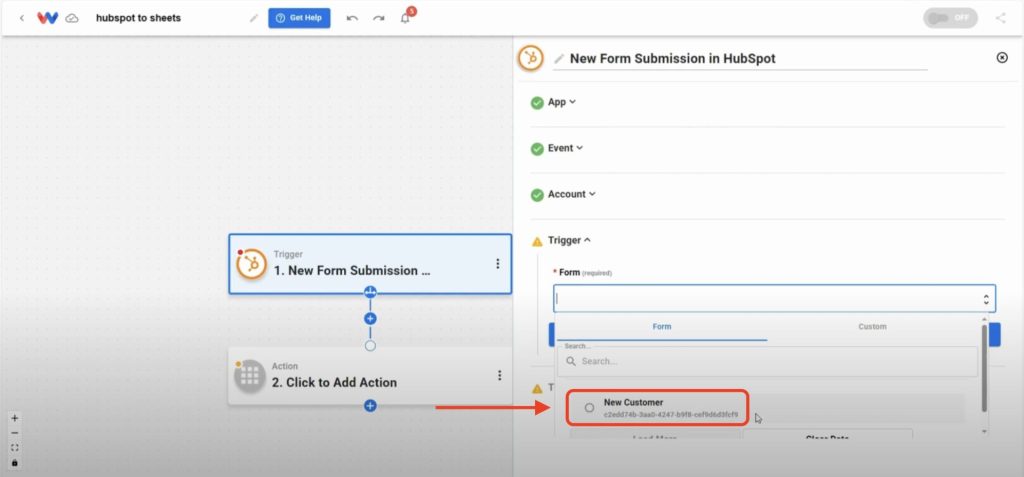
- Select Your Form: Pick a form to monitor from the dynamic dropdown menu.
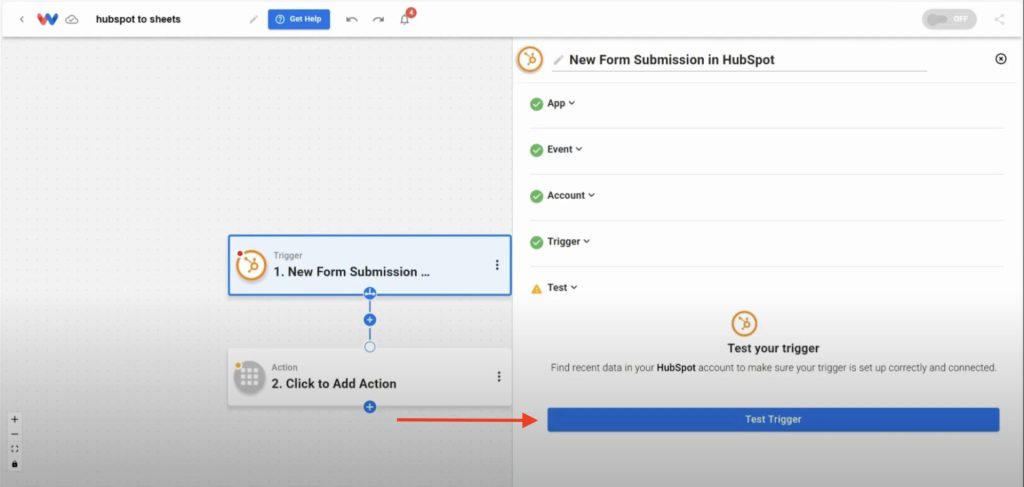
- Test the Trigger: Click Test Trigger to pull in a sample submission.
Step 2: Format Trigger Data (AI Formatter by Workload) #
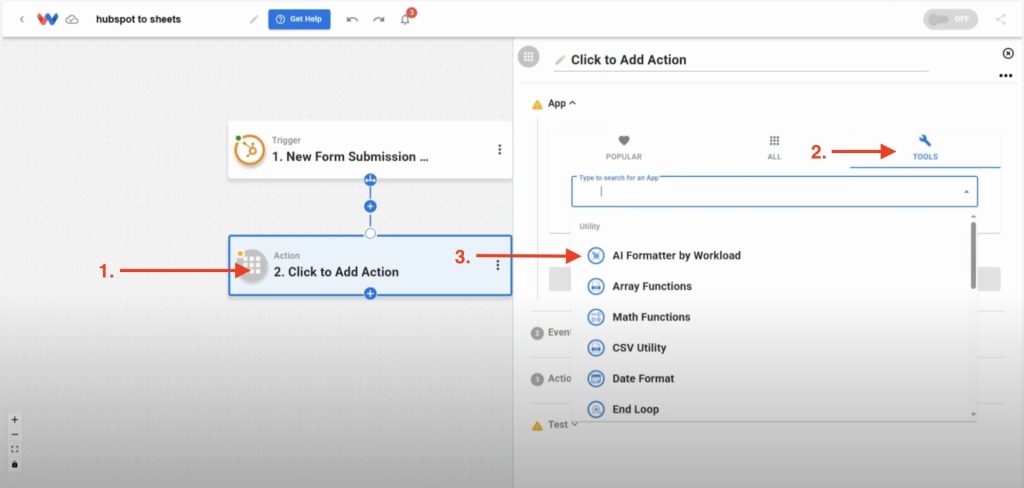
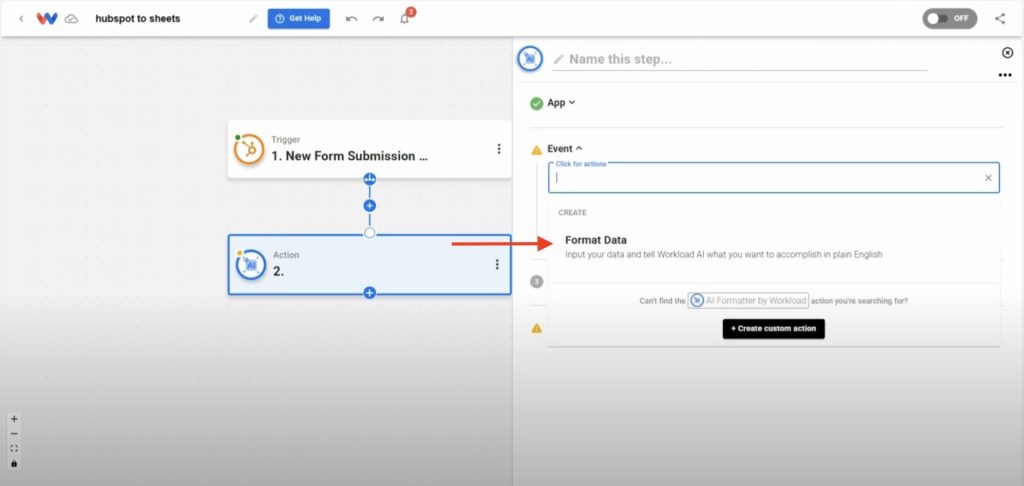
- Add Formatter Action: Click into Step 2 and choose the app AI Formatter by Workload from the Tools menu.
- Select Event: Choose Format Data as the action event.
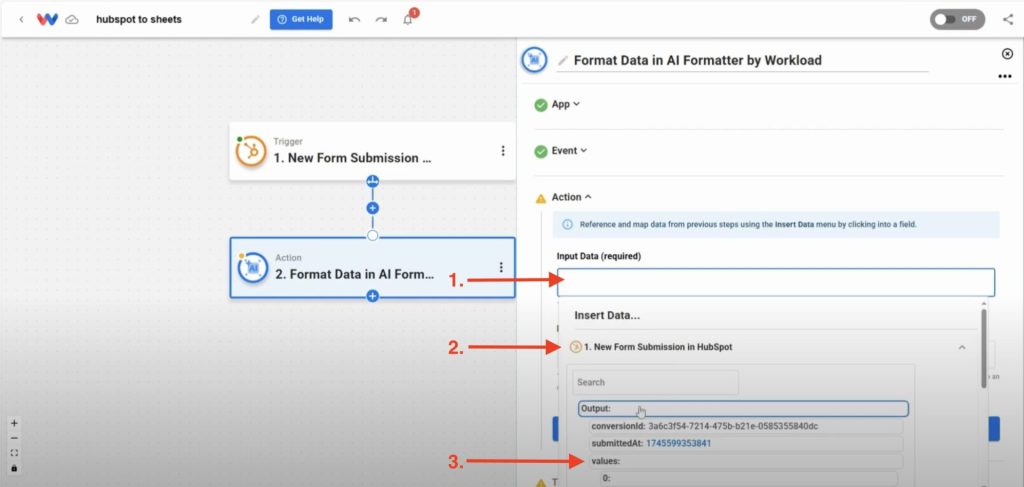
- Select Input Data: Click the Input Data box, select the HubSpot trigger’s
valuesarray from the trigger data.
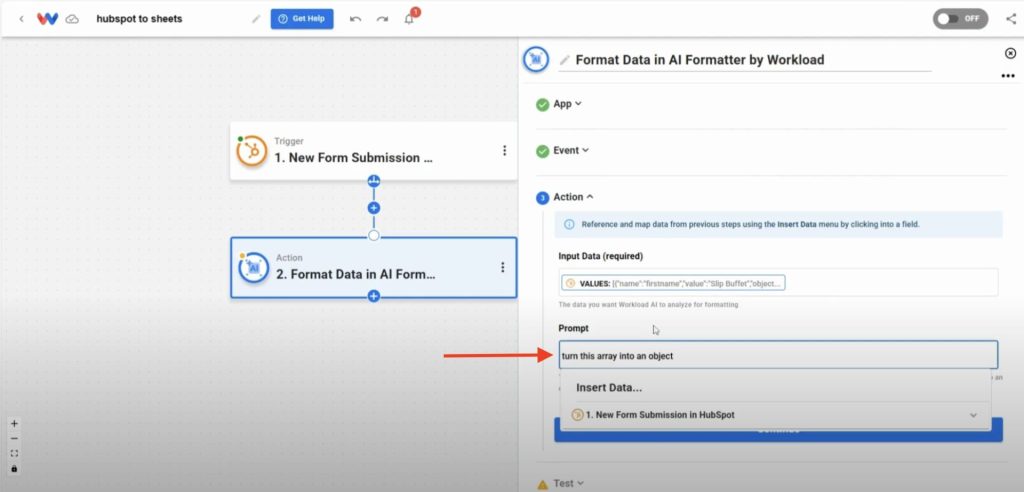
- Prompt the Formatter: Type in a prompt telling it to format the data. (ex: Turn this array into an object)
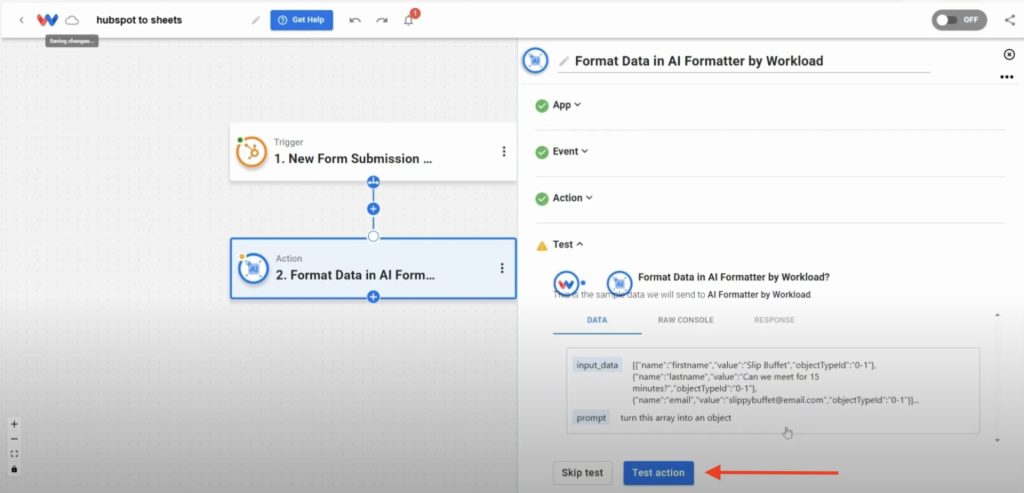
- Test the Action: Click Test Action and confirm you receive individual fields ready for mapping.
Step 3: Add Spreadsheet Row (Google Sheets) #
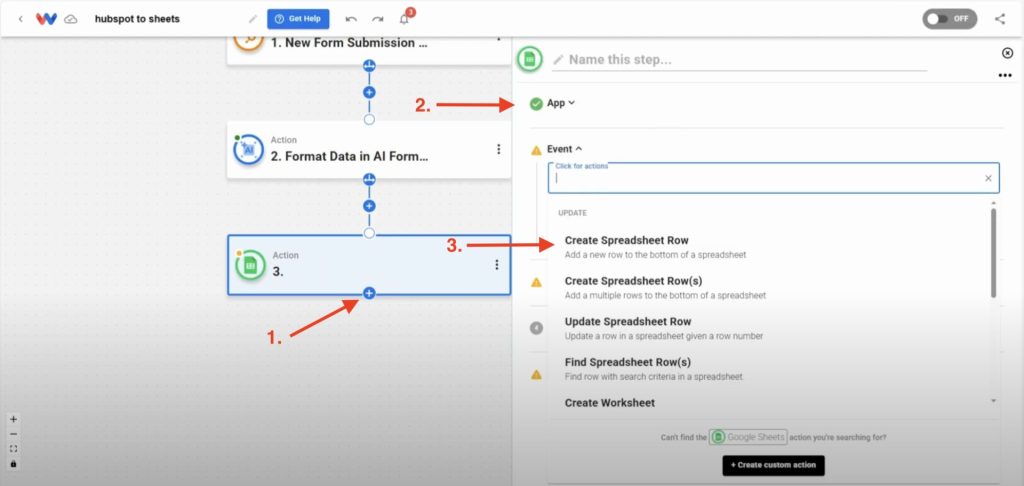
- Add Google Sheets Action: Click + to add an action, then select Google Sheets → Create Spreadsheet Row.
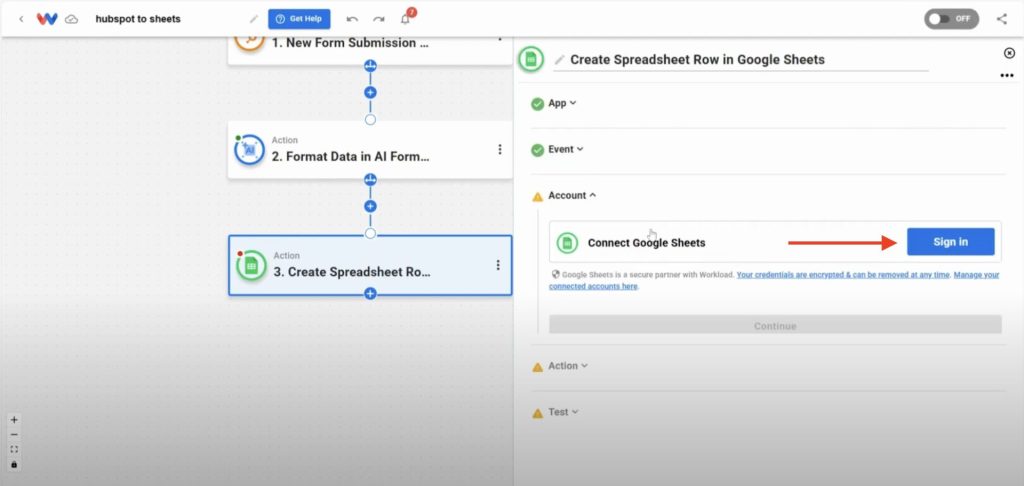
- Connect Your Google Account: Sign in to securely connect your account OR select an existing connection.
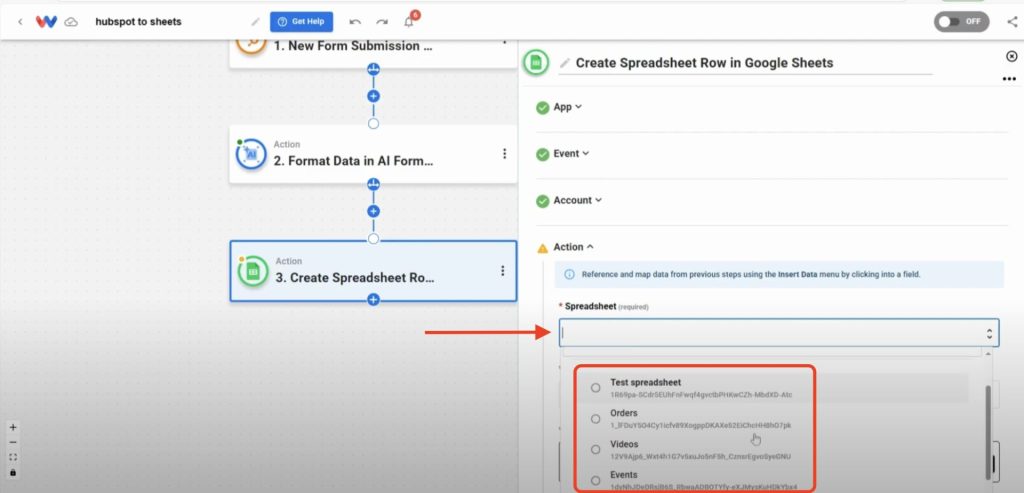
- Choose Spreadsheet: Select your target sheet. (ex: Customer Requests)
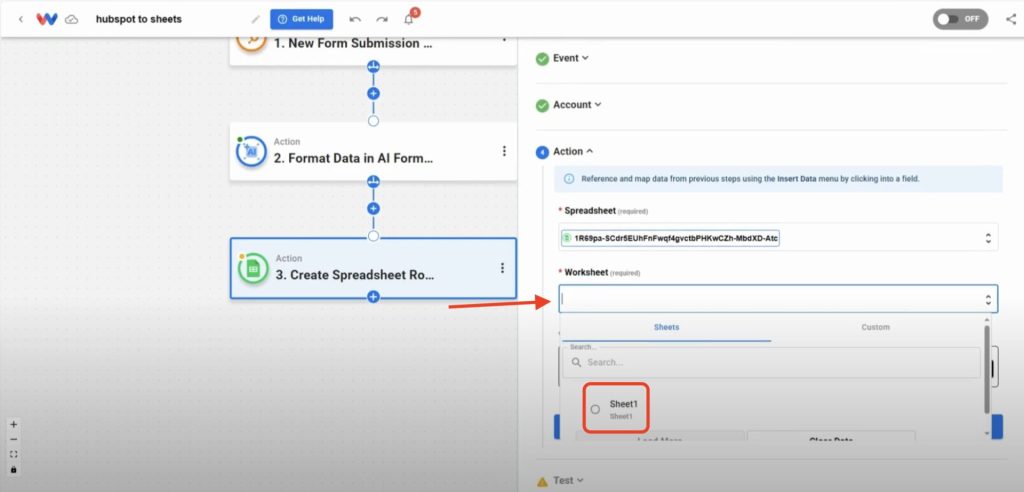
- Choose Worksheet: Pick the tab you want to use. (ex: Sheet1)
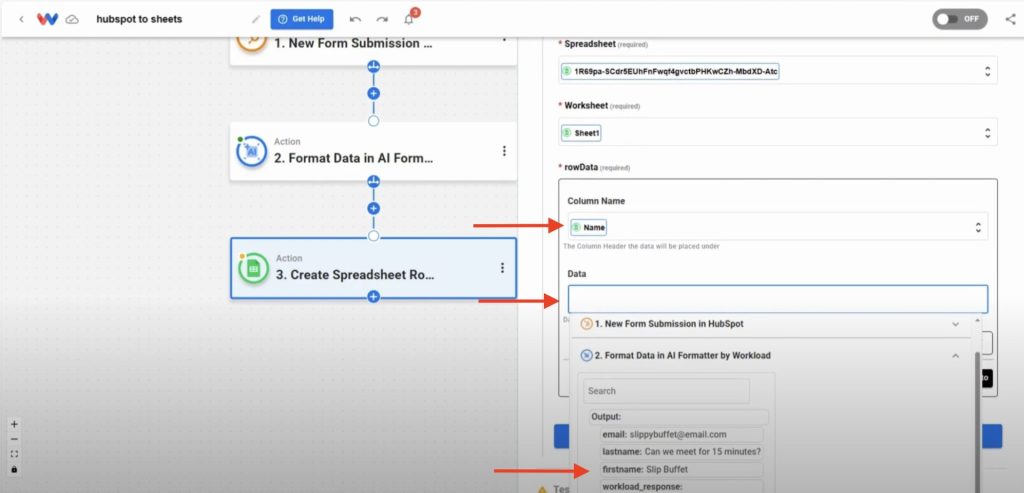
- Configure Row Data: Click + Add to and then pick a column name and the data you want to record. (ex: Name, Email, etc.)
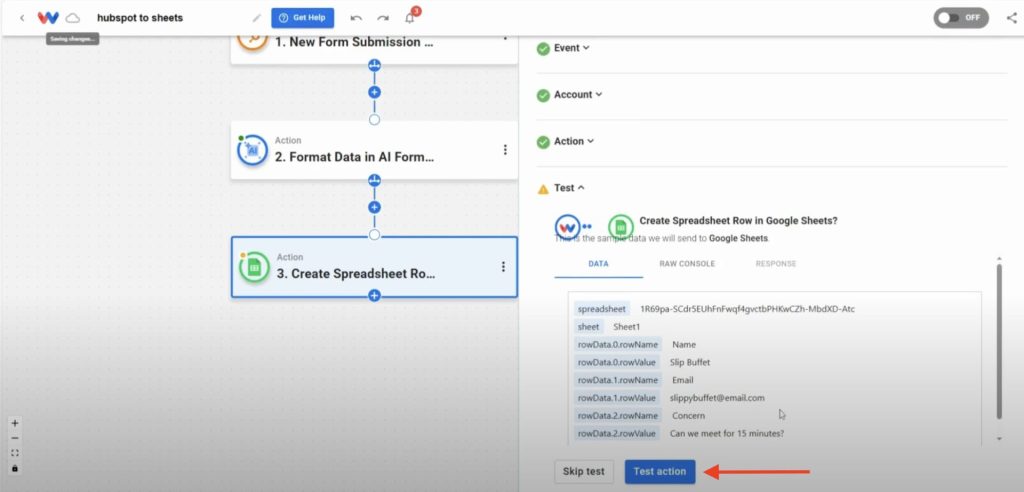
- Test Action: Click Test Action and verify that the data appears correctly in your Google Sheet.
Step 4: Activate the HubSpot Form Submissions to Google Sheets Workflow #
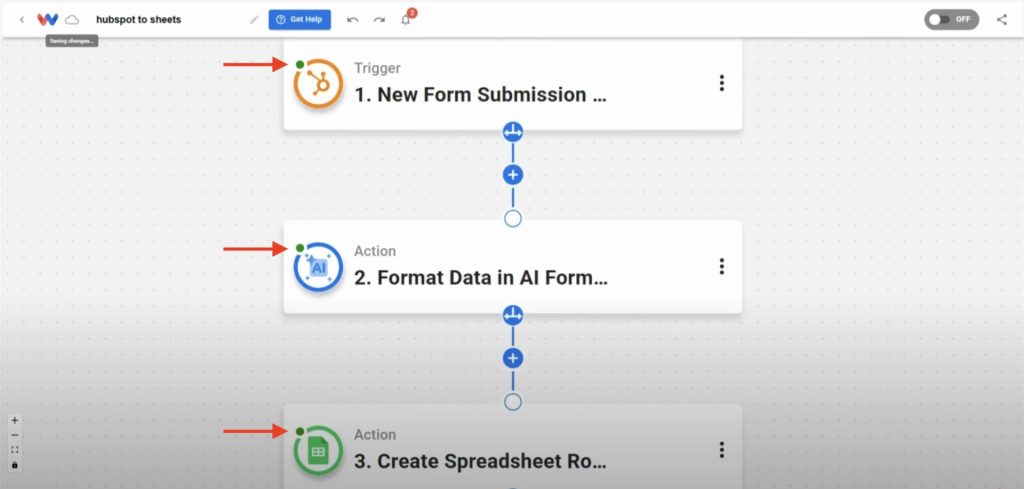
- Check Each Step: Verify every step shows a green indicator.
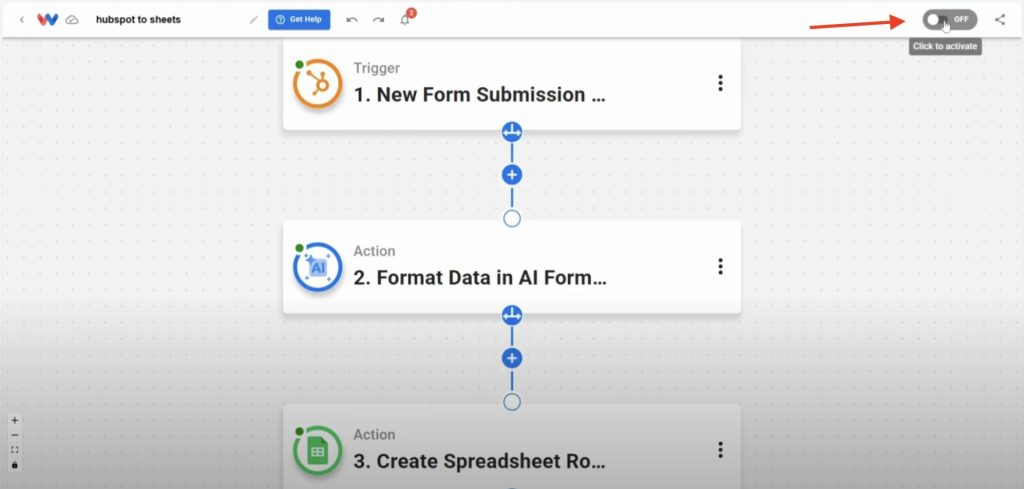
- Activate Workflow: Toggle the workflow On to activate itl
- Confirm Live Workflow: Verify that new form submissions are now populating your Google Sheet.
Now that your HubSpot Form Submissions to Google Sheets workflow is live, you’ll see every form response—feedback, support requests, sign-ups, you name it—arrive in your spreadsheet the moment it’s submitted. That means no more manual copy-paste, messy formatting, or missed follow-ups. Your team stays focused, organized, and responsive.
You’ll cut out repetitive tasks, unlock extra hours for high-impact work, and build a more streamlined operation. Let this workflow handle the routine so you can focus on what really matters.
Want to automate even more tasks?
Use Workload templates to build your own workflows or browse our guide library for more integrations.
For additional help, visit Workload University or our Help Center. With Workload, automation doesn’t need to be complicated—it needs to work.
Automate your work—simplify your day!


